

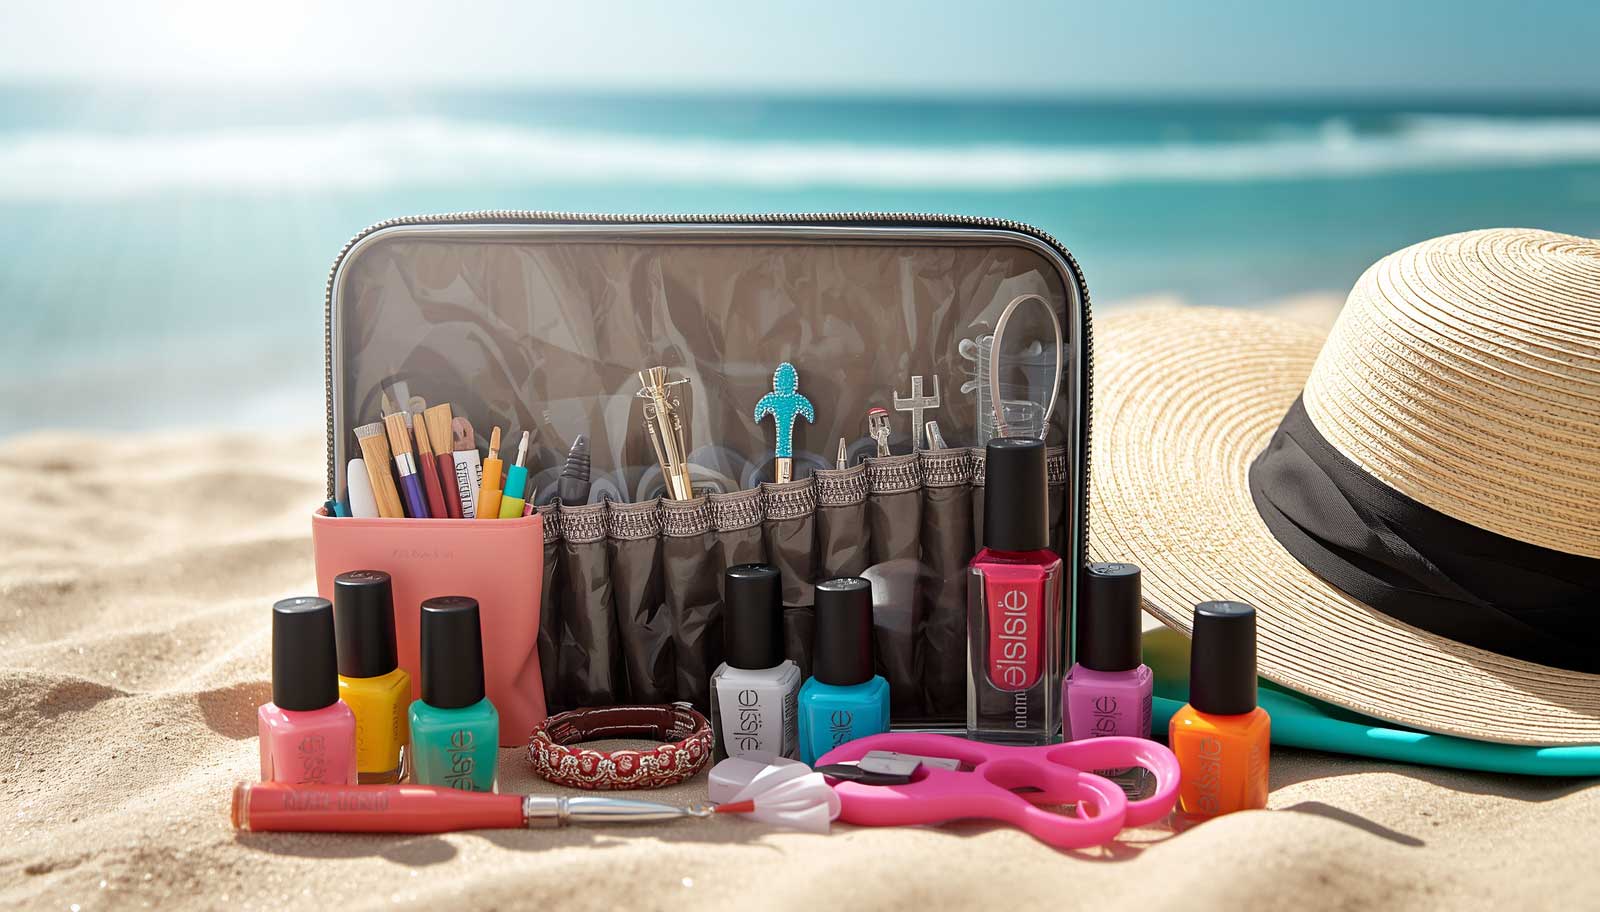
A vacation is the perfect excuse for a fresh manicure.
Whether you're heading to the beach, exploring a new city, taking a cruise, or spending a few days at a resort, beautiful nails can complete almost every vacation outfit.
The problem is that travel can be surprisingly tough on a manicure.
Luggage, swimming, sunscreen, humidity, hotel showers, long flights, sightseeing, and everyday activities can all contribute to chips, lifting, broken nails, or dry cuticles.
The good news is that you don't need to pack your entire nail drawer.
A small, well-planned vacation nail kit can handle most manicure emergencies without taking up much space in your luggage.
Here's exactly what to pack and how to use it so your nails can survive the trip.
Why Your Manicure Needs Extra Care on Vacation
Your normal routine changes when you travel.
You may spend more time in water, wash your hands more frequently, walk more, carry luggage, open unfamiliar packaging, or spend long hours outdoors.
Swimming and repeated exposure to water can be especially challenging for a manicure that is already starting to lift.
Sun exposure is another consideration. Dermatologists recommend protecting exposed skin with broad-spectrum, water-resistant SPF 30 or higher and reapplying after swimming or sweating.
Your hands deserve that same attention.
The Essential Vacation Nail Kit
You don't need dozens of products.
For most trips, a compact nail kit should contain a few basic tools and emergency products.
Nail File
A small nail file is one of the most important things to pack.
If you chip a nail or catch an edge on clothing, you can smooth it before the damage gets worse.
Choose a small file that fits easily into your cosmetic bag.
A glass file can be a convenient reusable option, while a basic emery board works perfectly well for travel.
The goal is simply to keep rough edges under control.
Mini Nail Clippers
Pack a small pair of nail clippers for emergencies.
They're useful if a nail cracks or splits and you need to shorten it rather than risk further damage.
Avoid using your manicure as a tool to open packages, cans, or luggage zippers. Dermatologists specifically recommend not using your nails as tools because this can contribute to chipping, splitting, or lifting.
Nail Glue
If you're wearing press-on nails, extensions, or even dealing with a small artificial-nail emergency, nail glue can be extremely useful.
A tiny travel-size bottle can save an otherwise perfect manicure.
Keep it securely closed and packed according to the manufacturer's directions.
If you're traveling by air, remember that liquids, gels, and aerosols in carry-on baggage are subject to the applicable airport security rules. For U.S. TSA screening, carry-on liquids, gels, and aerosols generally need to follow the 3-1-1 rule, including containers of 3.4 ounces or less in a single quart-size bag.
Always check the current rules for your departure airport and airline, especially for international travel.
Your Original Nail Polish
If you're wearing regular nail polish, don't pack a full collection.
Bring the exact shade you're wearing.
A small bottle can be enough to cover minor chips during the trip.
If you have a neutral or nude manicure, matching the color is usually easier. For complicated nail art, you may not be able to completely recreate a damaged section, but a small touch-up can still make the manicure look much better.
Mini Top Coat
A travel-size top coat can be surprisingly useful.
Apply a thin layer when your manicure starts looking dull or when you want to refresh the finish.
For regular polish, avoid applying thick layers over an already damaged manicure. Thin, even applications generally give you better control.
If you're using gel polish, don't try to improvise a gel repair without the appropriate lamp and products.
Cuticle Oil
Cuticle oil is one of the easiest products to forget and one of the most useful to pack.
Travel can leave hands feeling dry, particularly when you're exposed to air conditioning, dry airplane cabins, frequent hand washing, or changes in climate.
Keeping the cuticles moisturized can make the entire manicure look fresher.
The American Academy of Dermatology recommends moisturizing nails and cuticles between gel manicures to help minimize brittleness.
A small rollerball or pen-style cuticle oil takes up almost no room in a toiletry bag.
Hand Cream
Don't stop at your nails.
Pack a small hand cream and use it regularly throughout the trip.
Apply it after washing your hands and whenever your skin feels dry.
Dermatologists also recommend moisturizing during travel because airplanes and changes in climate can make skin drier.
If you're about to apply nail glue or polish, allow your hands to absorb the moisturizer fully and keep the nail plate clean and free of excess oil before applying products.
Pack Nail Polish Remover Carefully
A small amount of nail polish remover can be useful if a manicure becomes badly damaged.
Instead of carrying a large bottle, consider travel-friendly remover pads or a properly packaged small container where permitted.
Remover can also help clean a nail before an emergency repair.
If you're traveling with gel nails, don't plan to peel or scrape them off if they begin lifting.
The American Academy of Dermatology advises against picking gel polish because doing so can damage the nails.
Add a Few Cotton Pads or Swabs
Cotton pads and cotton swabs take up very little space.
They're useful for cleaning small polish mistakes, removing a chipped section, or applying remover.
A few pieces in a small resealable bag are usually enough for a short vacation.
Pack a Small Buffer
A mini buffer can help smooth a rough surface or minor snag.
Use it gently.
The goal is to smooth the nail, not aggressively thin it.
Over-buffing natural nails can weaken them, so there's no reason to keep filing once the rough edge has been removed.
Don't Forget a Nail Brush
A tiny nail brush can be useful after a day at the beach, hiking, gardening, or other outdoor activities.
Sand and dirt can collect around the nails, particularly when you're spending more time outside.
Keep your nails clean and dry when possible. Dermatologists note that bacteria and fungi thrive in moist environments, making good nail hygiene particularly important.
Add Sunscreen to Your Nail Care Routine
Sunscreen isn't technically a nail product, but it belongs in your vacation nail kit.
Your hands receive plenty of sun exposure while you're traveling.
The American Academy of Dermatology recommends broad-spectrum, water-resistant SPF 30 or higher for exposed skin and reapplication approximately every two hours when outdoors, as well as after swimming or sweating.
If you're getting a gel manicure before your trip, the AAD also recommends protecting the hands from the UV exposure associated with curing lamps by applying SPF 30+ to the hands before the manicure or using dark, opaque gloves with the fingertips removed.
What to Pack for Press-On Nails
Press-ons are particularly convenient for vacations because you can bring a replacement set without carrying salon equipment.
If you're wearing press-ons, pack:
- A spare set
- Nail glue
- Adhesive tabs if you use them
- A nail file
- A small buffer
- Alcohol or nail-prep wipes if recommended by your adhesive
- Cuticle oil
- The spare set is especially useful.
If one nail disappears during a beach day or sightseeing trip, you don't have to spend part of your vacation looking for a nail salon.
What to Pack for Gel Nails
If you're leaving home with a gel manicure, your kit can be even smaller.
Pack your matching gel color only if you have a practical way to cure it properly.
Otherwise, a regular polish in a similar shade may be more useful for cosmetic touch-ups.
Your essential items can include:
- A nail file
- Cuticle oil
- Hand cream
- Cotton swabs
- Remover suitable for your manicure
- A small emergency repair item
You generally don't need to pack a UV or LED lamp unless you're specifically planning to perform gel services during the trip.
What to Pack for Regular Polish
Regular polish is probably the simplest manicure to maintain while traveling.
A compact kit can include:
- Your polish color
- Base coat if needed
- Top coat
- Mini nail file
- Remover pads
- Cotton swabs
- Cuticle oil
- Hand cream
For a short trip, you can often reduce this even further.
Your nail file and matching polish are the two most important emergency items.
Your Pre-Vacation Manicure Matters
The best way to protect your manicure on vacation is to start with healthy, properly prepared nails.
Don't wait until the night before your flight to experiment with a completely new technique.
If you're doing your own nails, give yourself enough time for the manicure to fully settle and for you to identify any problems before leaving.
If you're visiting a salon, schedule the appointment with enough time to address any issue before departure.
For gel or artificial nails, choose a reputable salon that properly cleans and disinfects its tools. The AAD also recommends avoiding cuticle cutting because cuticles help protect the surrounding area from infection.
Choose a Vacation-Friendly Nail Shape
Your vacation nail shape can make a difference.
Short to medium-length nails are generally easier to manage when you're carrying luggage, swimming, hiking, or participating in outdoor activities.
Oval, round, and squoval shapes can be practical choices because there are fewer sharp corners to catch on clothing and bags.
Very long stiletto or coffin nails can still look gorgeous, but they require more care.
If you're planning an active vacation, consider choosing a length that won't interfere with your activities.
Be Careful With Swimming
A pool or ocean can be one of the biggest manicure challenges during vacation.
If your polish is already lifting before you enter the water, prolonged exposure can make the problem worse.
After swimming, rinse your hands if necessary and dry them thoroughly.
If you notice a press-on or artificial nail lifting, don't repeatedly bend or pull it.
Deal with it as soon as you can using the appropriate removal or repair method.
Protect Your Nails While Doing Vacation Activities
Your nails aren't tools, especially when you're traveling.
Don't use them to open cans, scrape stickers, pry open packages, or pull tight luggage zippers.
These small actions can create cracks that become much bigger problems later.
Use the pads of your fingers or an appropriate object instead.
This simple habit can make a significant difference to manicure longevity.
Keep a Mini Emergency Kit in Your Day Bag
You don't have to carry your entire nail kit everywhere.
For day trips, create a tiny emergency pouch containing:
- A nail file
- A small amount of nail glue if appropriate
- One or two adhesive tabs
- A cotton swab
- A small cuticle oil pen
- One spare press-on nail if you're wearing press-ons
That's enough to handle most minor manicure emergencies without weighing down your bag.
Keep the larger nail kit in your hotel luggage.
How to Fix a Chipped Nail on Vacation
If regular polish chips, gently smooth the damaged edge with your nail file.
Clean the area and apply a very small amount of matching polish.
Allow it to dry before adding a thin layer of top coat.
Don't repeatedly paint thick layers over a badly damaged manicure.
If the nail itself is cracked or painful, don't simply cover the problem with polish.
Give the nail appropriate care and consider professional or medical advice if the damage is significant.
How to Deal With a Lifted Press-On Nail
If a press-on starts lifting, don't keep catching it on clothing or pulling at it.
If you can safely remove it, clean the natural nail and reapply it according to the adhesive instructions.
If you use glue, avoid applying excessive product around the skin.
For a temporary fix, adhesive tabs can sometimes be useful when appropriate for the product you're using.
If the natural nail underneath is damaged, painful, or discolored, skip the reapplication and allow it to recover.
What Not to Pack
A good vacation nail kit is small because you don't need everything.
You probably don't need:
- Multiple nail polish colors
- Large bottles of remover
- Several files
- A full nail-art collection
- A large electric nail drill
- Every manicure tool you own
- Multiple top coats
Instead, choose products that solve actual problems.
Think repair, hydration, protection, and cleanup.
Vacation Nail Kit Packing Checklist
For a basic vacation, your compact kit can look like this:
Essential
- Mini nail file
- Nail clippers
- Matching polish or a small repair product
- Top coat
- Cuticle oil
- Hand cream
For press-ons
- Spare press-on set
- Nail glue
- Adhesive tabs
- Nail-prep wipes
For emergencies
- Cotton swabs
- A few cotton pads
- Small remover option
- Mini buffer
For hand protection
- Broad-spectrum SPF 30+ sunscreen
- Moisturizer
- A small hand sanitizer
You can adjust this list depending on your manicure and destination.
How to Keep Your Manicure Looking Fresh Throughout the Trip
A little maintenance every day is easier than repairing major damage later.
Apply cuticle oil regularly.
Moisturize your hands.
Use sunscreen when you're outdoors.
Wear gloves for cleaning activities.
Dry your hands properly after swimming or washing.
Don't pick at lifting polish.
Don't use your nails as tools.
And give your nails a quick check each evening.
If you catch a small problem early, it is much easier to fix.
Should You Get Your Nails Done Before or During Vacation?
For most travelers, doing your manicure shortly before the trip makes the most sense.
You start the vacation with fresh nails and only need to perform small maintenance during the journey.
If you're going away for several weeks, however, consider how quickly your nails grow and whether you'll need a refill or replacement.
For longer trips, packing a simple DIY repair kit can be much more convenient than searching for a nail salon in an unfamiliar destination.
Final Thoughts
The perfect vacation nail kit doesn't need to be complicated.
A small nail file, cuticle oil, hand cream, matching polish or press-on replacements, nail glue, and a few cleanup supplies can handle most manicure emergencies.
Your daily habits matter just as much as what you pack.
Protect your hands from excessive sun exposure, moisturize regularly, avoid using your nails as tools, and take care when swimming or doing activities that put pressure on your nails.
With a little preparation, your manicure can stay polished from the airport to the beach and all the way home.


Comments (0)
No comments yet. Be the first to share your thoughts!
Leave a Comment
You must be logged in to post a comment.