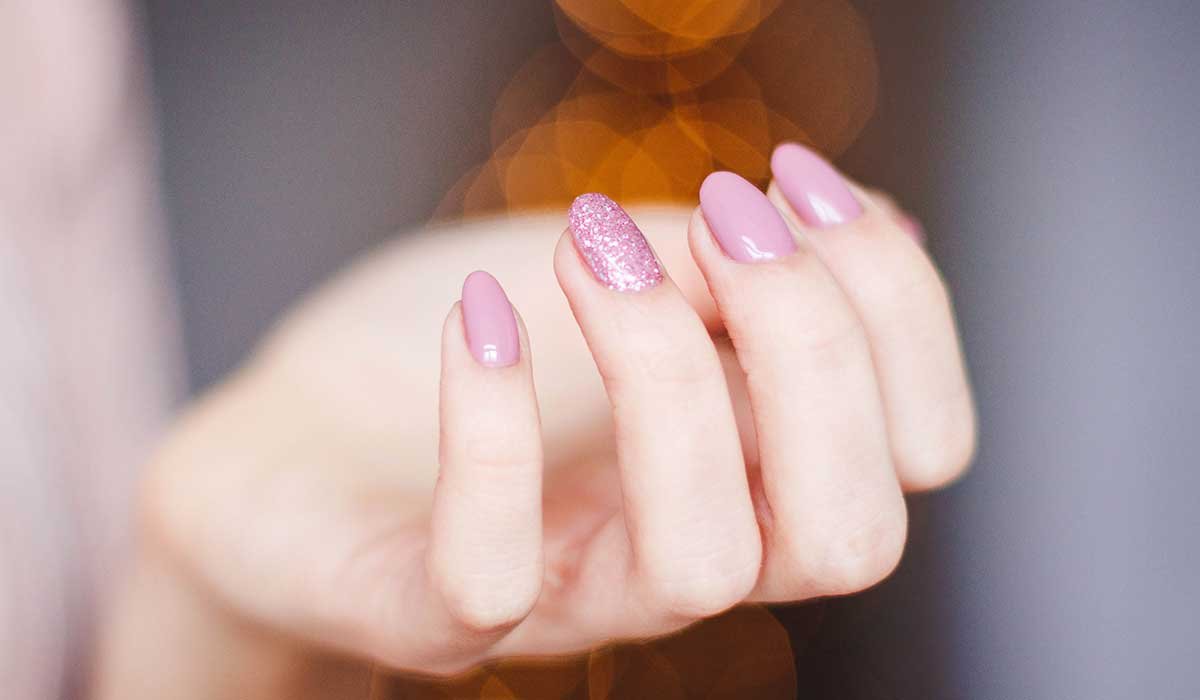
Gel manicures have become one of the most popular beauty treatments in the world. They last longer than traditional nail polish, deliver a high-shine finish, and resist chips for weeks. The only downside is that regular salon appointments can become expensive and time-consuming.
The good news is that doing gel nails at home is easier than ever. With affordable starter kits, beginner-friendly products, and a little patience, you can achieve salon-quality results without leaving your house.
If you're completely new to gel manicures, don't worry. You don't need professional training or advanced skills to get started. By following the right steps and avoiding common mistakes, you can create a beautiful, long-lasting gel manicure from the comfort of your own home.
This beginner-friendly guide covers everything you need to know.
Why Gel Nails Are Different From Regular Polish
Before starting, it's important to understand what makes gel polish unique.
Unlike traditional nail polish, gel polish does not air dry. Instead, it cures under a UV or LED lamp. This curing process hardens the polish and creates the durable finish that gel manicures are known for.
The benefits include:
Long-lasting wear
High shine
Chip resistance
Fast curing
Professional-looking results
Most gel manicures last between two and three weeks when applied correctly.
What You'll Need
One of the biggest advantages of DIY gel nails is that the supply list is relatively simple.
For a basic gel manicure, you'll need:
LED or UV nail lamp
Gel base coat
Gel color polish
Gel top coat
Nail file
Buffer
Cuticle pusher
Nail cleanser or rubbing alcohol
Lint-free wipes
Cuticle oil
Many beginner gel nail kits include most of these items in one package.
Once you have the essentials, you're ready to begin.
Step 1: Remove Old Polish and Clean Your Nails
Start with completely clean nails.
Remove any existing nail polish and wash your hands thoroughly.
Clean nails help ensure proper adhesion and reduce the risk of lifting later.
Take a moment to inspect your nails for damage, peeling, or weakness before beginning.
Healthy preparation leads to better results.
Step 2: Shape Your Nails
Use a nail file to create your desired shape.
Popular beginner-friendly options include:
Round
Oval
Squoval
Short almond
Try to keep your nail lengths consistent for a cleaner overall appearance.
Avoid aggressive filing because excessive thinning can weaken the nail.
The goal is creating a neat, even shape.
Step 3: Gently Push Back Your Cuticles
Cuticle preparation is one of the most important parts of a gel manicure.
Using a cuticle pusher, gently push back the cuticles.
Avoid cutting healthy skin.
Removing excess cuticle from the nail plate helps prevent lifting and creates a cleaner finish.
Many beginners skip this step and wonder why their gel polish peels early.
Proper cuticle preparation makes a significant difference.
Step 4: Lightly Buff the Nail Surface
Using a gentle nail buffer, lightly remove the shine from the nail surface.
This creates a slightly textured surface that helps the gel adhere more effectively.
Be careful not to over-buff.
One of the biggest mistakes beginners make is removing too much of the natural nail.
A few light passes are usually enough.
Your nails should appear matte, not thin.
Step 5: Clean Away Dust and Oils
After buffing, remove all dust from the nails.
Then use a lint-free wipe with rubbing alcohol or nail cleanser to remove oils and residue.
This step is essential.
Even small amounts of oil can interfere with adhesion and shorten the life of your manicure.
Your nails should feel clean and dry before moving forward.
Step 6: Apply a Thin Base Coat
Apply a thin layer of gel base coat to each nail.
Thin layers are crucial.
Beginners often assume thicker layers create stronger results, but thick gel can wrinkle, cure unevenly, and peel more easily.
Avoid touching the cuticles or skin.
If polish touches the skin, clean it before curing.
Once all nails are coated, cure according to your lamp manufacturer's instructions.
Most LED lamps cure base coats in 30 to 60 seconds.
Step 7: Apply the First Color Coat
Apply a thin layer of your chosen gel polish color.
Don't worry if the first coat appears slightly sheer.
Gel polish is designed to build gradually.
Again, avoid flooding the cuticle area.
Clean up any mistakes before curing.
Place your hand under the lamp and cure according to the product instructions.
Patience during this step helps create smoother results.
Step 8: Apply a Second Coat
Most gel colors look best with two coats.
Apply another thin layer and cure again.
Some lighter shades may require a third coat, but avoid adding unnecessary thickness.
Multiple thin layers almost always perform better than one thick layer.
At this point, your manicure should already look polished and professional.
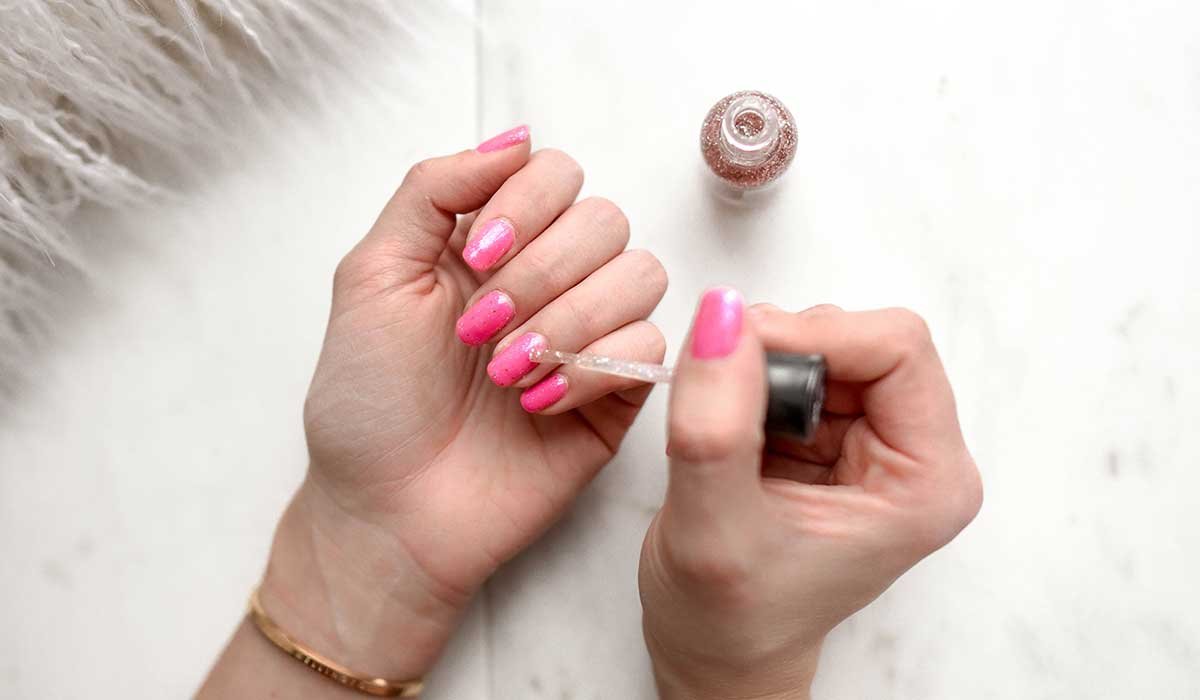
Step 9: Seal With a Top Coat
The top coat protects the color and creates the glossy finish associated with gel manicures.
Apply a thin, even layer across each nail.
Make sure to cap the free edge by lightly brushing the polish across the nail tip.
This simple technique helps reduce chipping.
Cure the top coat according to the manufacturer's instructions.
Once cured, your manicure is nearly complete.
Step 10: Remove the Sticky Layer if Necessary
Some gel top coats leave a sticky residue known as the inhibition layer.
If your product requires cleansing, use a lint-free wipe and rubbing alcohol to remove it.
Many modern no-wipe top coats eliminate this step entirely.
Check your product instructions to determine which type you are using.
After cleansing, your nails should feel smooth and glossy.
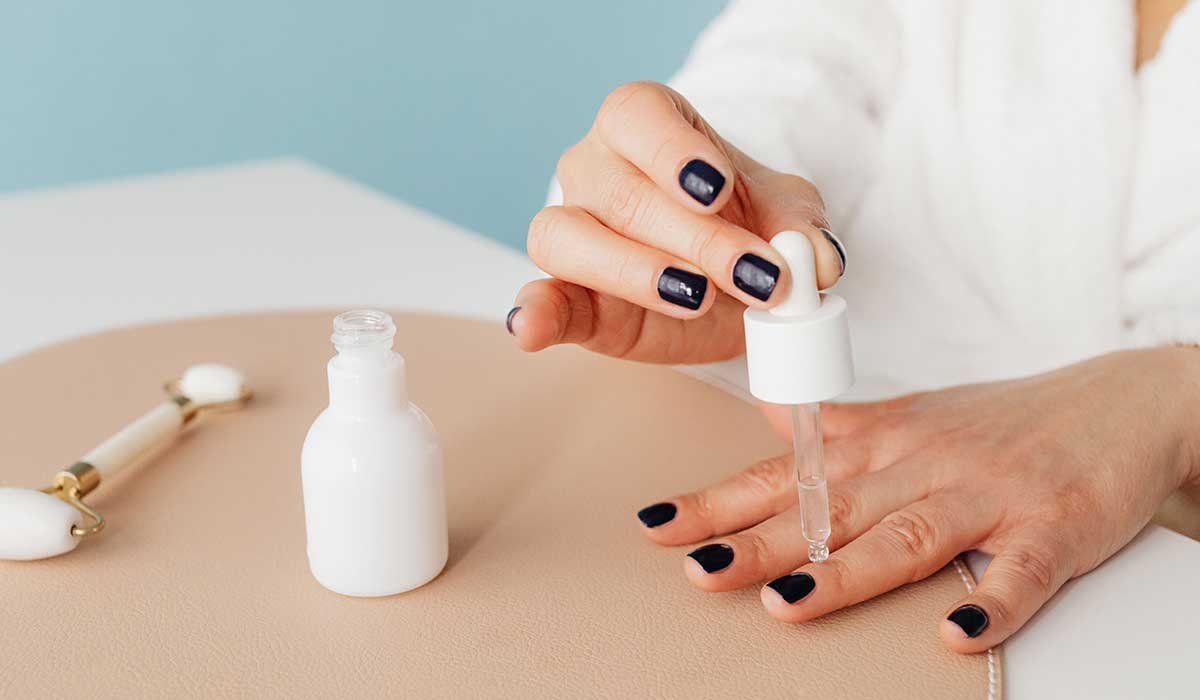
Step 11: Apply Cuticle Oil
This final step is often overlooked but highly important.
Apply cuticle oil around each nail and massage it into the skin.
Gel application can temporarily dry the surrounding area.
Cuticle oil helps restore moisture and supports healthy nail growth.
Your manicure will instantly look more polished and professional.
Common Beginner Mistakes to Avoid
Most DIY gel manicure problems can be traced back to a few simple mistakes.
Common issues include:
Applying thick layers
Skipping nail preparation
Flooding the cuticles
Under-curing polish
Over-buffing the nail
Peeling off gel during removal
Avoiding these habits can dramatically improve both appearance and longevity.
How Long Do DIY Gel Nails Last?
A properly applied at-home gel manicure can often last two to three weeks.
Factors that influence longevity include:
Nail preparation
Product quality
Daily activities
Application technique
Nail health
Regular use of cuticle oil can also help maintain flexibility and reduce lifting.
Many beginners are surprised by how long gel polish lasts when applied correctly.
How to Remove Gel Nails Safely
Proper removal is just as important as proper application.
Never peel or pick off gel polish.
Doing so can remove layers of your natural nail and cause significant damage.
Instead:
File the shiny top layer.
Soak cotton in acetone.
Place it on the nail.
Wrap with foil.
Wait approximately 10-15 minutes.
Gently push away softened gel.
Patience during removal helps preserve nail health.
Is Doing Gel Nails at Home Worth It?
For many people, absolutely.
While there is an initial investment in supplies, doing gel nails at home can save significant money over time.
You also gain:
Convenience
Scheduling flexibility
Creative freedom
Greater control over nail care
Many beginners find the process easier than expected after only a few applications.
Like any skill, confidence improves with practice.
Final Summary
Learning how to do gel nails at home may seem intimidating at first, but it quickly becomes manageable once you understand the basics. Proper nail preparation, thin polish layers, careful curing, and gentle removal are the keys to achieving salon-quality results.
The biggest mistake beginners make is rushing. Taking your time during each step leads to smoother application, longer wear, and healthier nails overall.
With a few essential tools and a little practice, DIY gel nails can become one of the easiest and most rewarding parts of your beauty routine.
You don't need a salon appointment to enjoy beautiful gel nails. You simply need the right technique, patience, and a willingness to learn.
Comments (0)
No comments yet. Be the first to share your thoughts!
Leave a Comment
You must be logged in to post a comment.