French Manicure at Home: The Foolproof Method That Actually Works
A classic French manicure never truly goes out of style. Clean nude polish paired with crisp white tips creates a timeless look that works for almost every occasion. From weddings and office wear to everyday minimal beauty trends, French nails continue to remain one of the most requested manicure styles in salons around the world.
The problem is that creating a perfect French manicure at home often feels much harder than it looks. Uneven white tips, streaky polish, shaky lines, and smudges can quickly turn a simple manicure into a frustrating experience.
The good news is that you do not need professional salon skills to achieve beautiful French nails at home. With the right tools, preparation, and technique, beginners can create a clean and polished French manicure that actually looks professional.
Why French Manicures Are So Popular
French manicures are loved because they look elegant without being overly dramatic. The soft pink or nude base creates a healthy natural appearance, while the white tip adds a fresh and polished finish.
Unlike trendy nail art that may go out of style quickly, French nails remain versatile and timeless. They work on short nails, long nails, square shapes, almond nails, and almost every skin tone.
Another reason for their popularity is that they make nails appear cleaner and more refined even with minimal makeup or accessories.
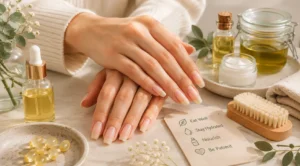
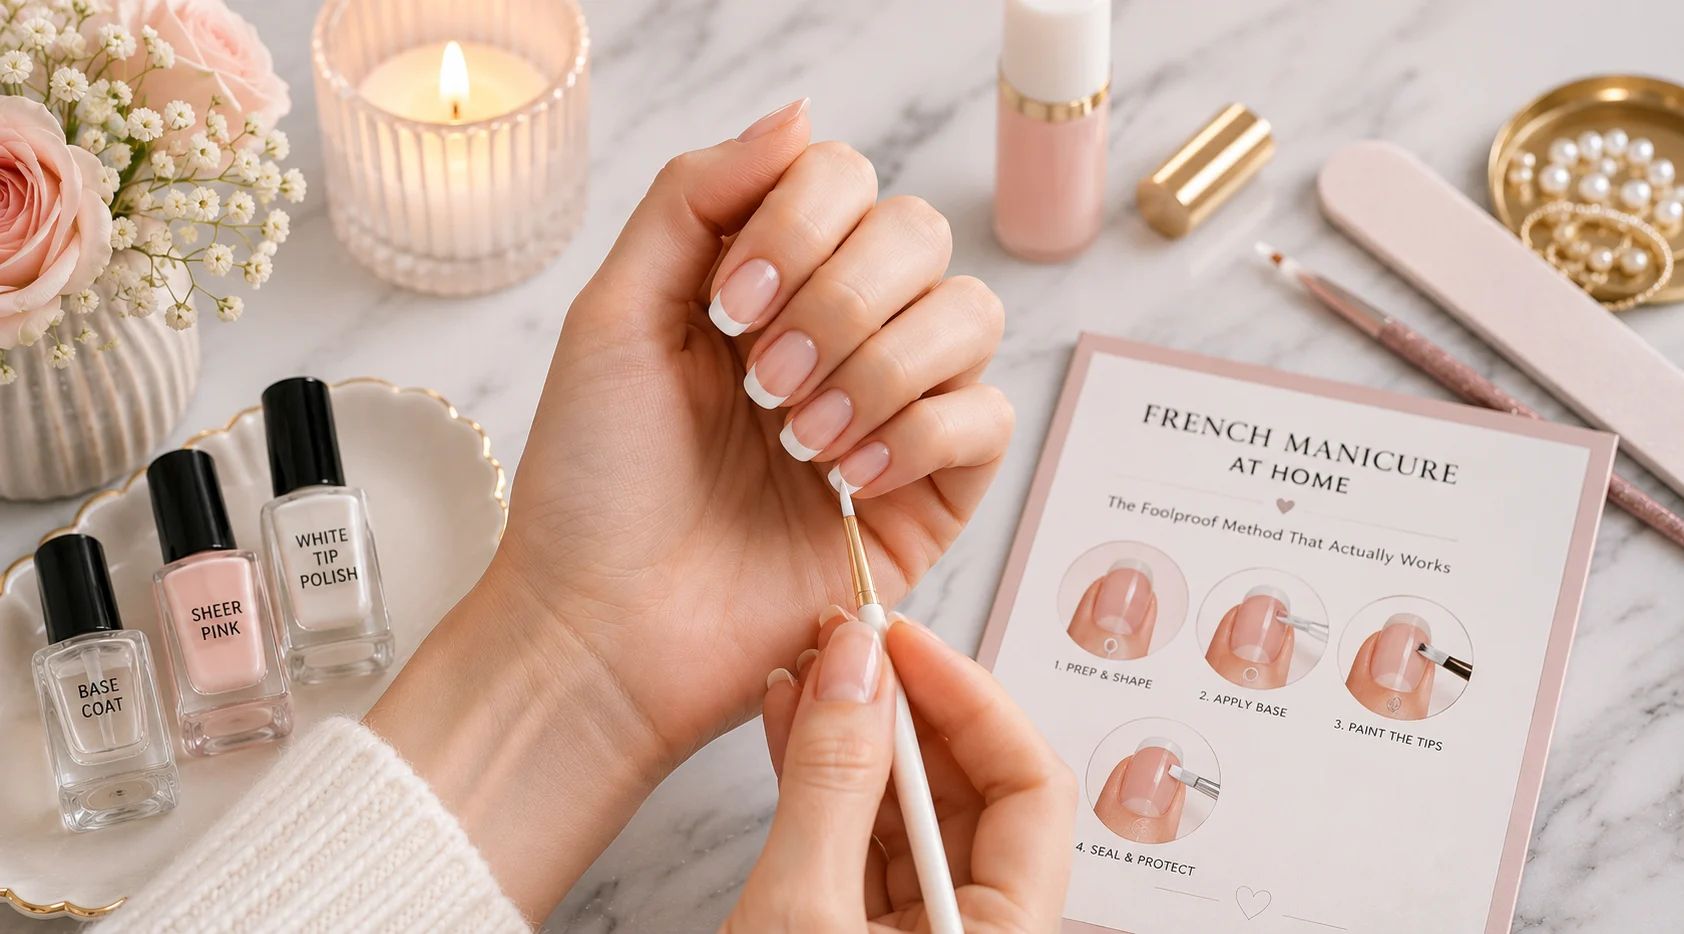
What You Need for a French Manicure at Home
Before starting, gather all your supplies so the process feels easier and more organized.
You will need:
- Nail clippers
- Nail file
- Buffer block
- Cuticle oil
- Base coat
- Sheer pink or nude polish
- White nail polish
- Top coat
- Small nail brush or French manicure guides
- Cotton swabs
- Nail polish remover
Choosing the right white polish matters more than many people realize. Thick or streaky white formulas are harder to control and may create uneven tips.
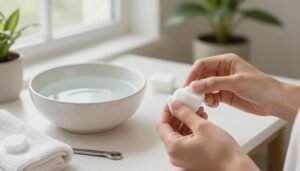
Step 1: Prep Your Nails Properly
A smooth manicure always starts with good nail preparation.
Remove any old nail polish and wash your hands thoroughly. Trim and shape your nails evenly using a nail file. French manicures usually look best on rounded, squoval, almond, or soft square nail shapes.
Next, gently push back your cuticles and lightly buff the nail surface to remove excess shine. Do not over-buff, as this can weaken the nails.
Apply cuticle oil afterward, then wipe the nail plate clean before polishing so the polish adheres properly.
Skipping nail prep is one of the biggest reasons at-home manicures chip quickly.
Step 2: Apply a Base Coat
A base coat protects the natural nail and helps polish last longer.
Apply one thin layer and allow it to dry fully before moving to the next step. Thick coats take longer to dry and increase the risk of smudging later.
A strengthening base coat can also help if your nails are weak or brittle.
Step 3: Apply the Nude or Pink Base Color
French manicures traditionally use soft pink, beige, peach, or sheer nude shades.
Apply one or two thin coats depending on how sheer you want the final look to appear. Many modern French manicures use very natural translucent shades for a cleaner appearance.
Allow the base color to dry completely before attempting the white tips. This step is extremely important because partially wet polish can ruin the smile line.
Step 4: Create the White Tips Carefully
The white tip, also called the smile line, is the most important part of a French manicure.
There are several beginner-friendly methods you can use:
Freehand Method
Using the polish brush directly, paint a curved white line across the nail tip. Short controlled strokes usually work better than trying to paint the entire tip in one motion.
This method takes practice but creates the most natural salon-style look.
French Tip Guides
Adhesive nail guides help beginners create cleaner lines. Place the guide slightly below the tip, paint the white section, and carefully remove the sticker before the polish fully dries.
This method is one of the easiest ways to achieve even tips at home.
Small Nail Brush Method
Some people prefer using a small angled brush dipped in white polish for better control. This can help create thinner, more precise smile lines.
Whichever method you choose, keep the white tips thin and balanced. Thick white tips can make nails look shorter and less natural.
Step 5: Clean Up Mistakes
Even professional nail artists make mistakes during French manicures.
Dip a small brush or cotton swab into nail polish remover and carefully clean around the edges of the nails. This instantly makes the manicure look neater and more polished.
Taking a few extra minutes for cleanup can dramatically improve the final result.
Step 6: Seal Everything with a Top Coat
Once the white tips are fully dry, apply a glossy top coat over the entire nail.
Top coat helps smooth the surface, blend the layers together, and protect the manicure from chipping.
Many people rush this step, but a good top coat is one of the biggest secrets to making a French manicure last longer.
For extra shine, you can apply another thin top coat every few days.
Common French Manicure Mistakes
One of the most common mistakes is using too much polish at once. Thick layers dry slowly and smudge easily.
Another issue is uneven smile lines. Trying to rush the white tips often creates shaky or crooked results. Working slowly usually produces cleaner lines.
People also tend to skip drying time between layers. Patience matters more than speed when creating French nails at home.
Using old or thick nail polish can also make the application streaky and difficult to control.
How to Make Your French Manicure Last Longer
Long-lasting manicures depend heavily on aftercare.
Wearing gloves while washing dishes or cleaning protects the polish from water and chemicals. Applying cuticle oil daily also helps maintain nail flexibility and reduces chipping.
Avoid using your nails as tools to open cans, peel labels, or scratch surfaces.
Thin layers of polish generally last longer than thick heavy coats.
Modern French Manicure Variations
Traditional white tips are timeless, but modern French manicures have evolved into many creative variations.
Some popular styles include:
- Micro French tips
- Glitter French manicures
- Colored French tips
- Chrome French nails
- Reverse French manicures
- Ombre French nails
These updated styles keep the classic French manicure feeling fresh and trendy while still maintaining its elegant appearance.
Best Nail Shapes for French Manicures
French manicures work on almost every nail shape, but some shapes create especially flattering results.
Soft square and squoval nails create the traditional salon-style French manicure appearance. Almond nails create a more modern and feminine version.
Short round nails can also look beautiful with thinner white tips.
The key is matching the width and curve of the white tip to the natural shape of your nail.
Final Thoughts
Creating a French manicure at home may seem intimidating at first, but it becomes much easier with practice and patience.
The secret is focusing on preparation, thin layers, and controlled application rather than trying to rush the process. Even beginners can achieve salon-inspired results using simple techniques and the right tools.
French manicures remain popular because they are elegant, versatile, and timeless. Once you master the basic method, you can easily customize the look with modern colors, finishes, and nail shapes.
With a little practice, you can create beautiful French nails at home that look clean, polished, and professionally done.