The Right Way to Remove Gel Nails at Home Without Ruining Your Nails
Keeping your hands healthy begins with knowing The Right Way to Remove Gel Nails. Many face brittle or thin nails after a manicure. But, this damage can often be prevented. Learning the right techniques helps keep your natural nails strong.
Patience is your best tool when removing gel nails. Hurrying can cause harm to your delicate nail beds. Choosing DIY gel nail removal lets you control your nail health fully.
By following a step-by-step guide, you can avoid peeling and breakage. This guide helps you achieve a salon-quality finish at home. Always prioritize care over speed to protect your natural beauty.
Understanding the Gel Manicure Removal Process
To safely remove gel polish, you need to understand its unique chemical makeup. The gel manicure removal process is different from removing regular nail polish. This is because gel polish cures and sticks to the nail in a special way.

Why Gel Polish Requires Special Removal Techniques
Gel polish is made to last long and be flexible. It doesn’t dry like regular polish. Instead, it hardens when exposed to UV or LED light.
This hardening process creates a strong bond with your natural nail. You can’t just wipe it off with a regular solvent. Trying to remove gel without acetone or using force can damage your nails. This can cause them to thin, peel, and take months to recover.
The Science of Acetone and Gel Bonds
The key to safe removal is acetone. It’s a strong solvent that breaks down the gel’s bonds. Once these bonds are broken, the gel becomes soft and can be gently removed.
Using the right solvent is crucial for your nail health. Acetone does the work without needing harsh scraping or filing. This method keeps your nails strong and ready for your next manicure.
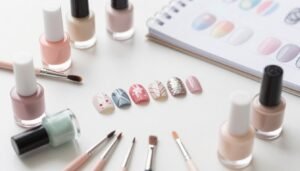
Essential Tools and Supplies for Safe Removal
You can’t get professional results without the right tools for safe gel polish removal. Having your equipment ready makes the process smooth and quick from start to finish.
Selecting the Right Acetone and Cotton Supplies
The key part of any gel nail removal kit is the solvent. Always pick 100% pure acetone for nails for fast and effective gel dissolving.
Don’t use regular nail polish removers. They often have oils or less acetone, making the process longer. Use high-quality cotton balls or lint-free pads with your solvent to apply it to the nail.
Tools for Buffing and Protecting the Cuticles
When the gel softens, you’ll need a fine-grit buffer to remove it gently. A coarse buffer can harm your natural nail, so choose a gentle one to keep your nails healthy.
Also, have a good cuticle oil ready to moisturize your skin after. Applying oil helps restore moisture lost during the soaking.
Safety Gear and Workspace Preparation
Proper workspace setup is key for at-home manicure safety. Work in a well-ventilated area and cover your table with a towel or silicone mat to avoid spills.
Keep all your supplies close so you don’t have to move while your hands are wrapped. Being organized helps avoid damage and makes the process stress-free.
The Right Way to Remove Gel Nails Step-by-Step
Removing gel nails at home can be done right with a careful plan. By following a step-by-step guide, you can keep your nails strong and healthy. Learning the right way to remove gel nails is key for your nail health in the long run.
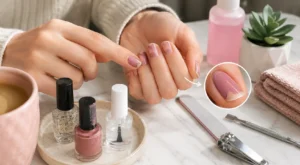
Preparing the Nail Surface by Filing the Top Coat
The first step is to use proper nail filing techniques to break the gel seal. Gently buff the shiny top coat off each nail with a medium-grit nail file. This step is crucial because it lets the acetone reach deeper layers of the polish.
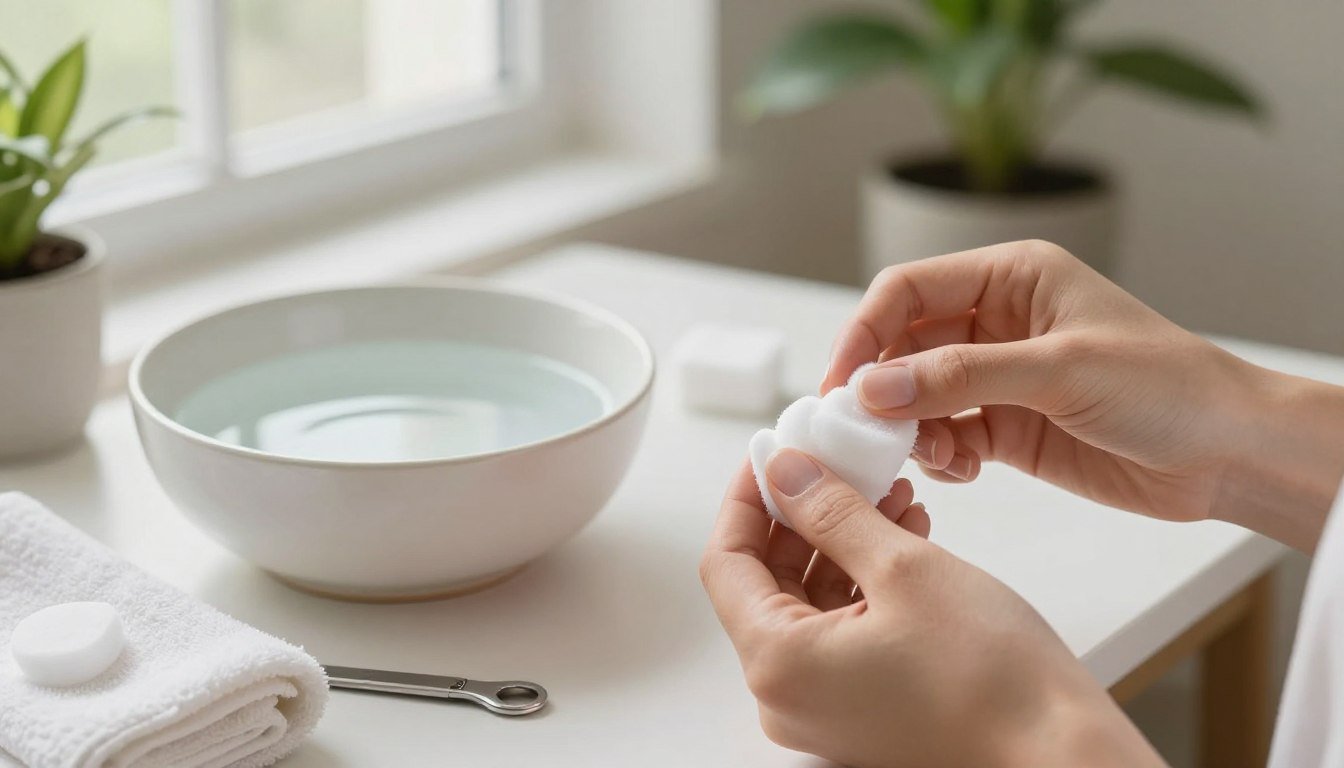
Applying Acetone-Soaked Cotton and Foil Wraps
After prepping, soak small cotton balls in 100% pure acetone. Place the soaked cotton on your nail bed and wrap each finger with aluminum foil. This creates a warm space that helps break down the gel bonds faster.
Managing the Soaking Time for Optimal Results
When removing gel polish at home, patience is essential. Let your nails soak for about 10 to 15 minutes. Checking too soon can make it hard, while soaking too long can dry out your skin and cuticles.
Gently Removing Softened Gel Residue
After soaking, remove the foil wraps one by one to see how it’s going. If the gel has lifted, use a wooden orange stick or cuticle pusher to gently remove the softened residue. Never force it off; if it’s still stuck, re-wrap the nail for a few more minutes to avoid damage.
Common Mistakes That Damage Your Natural Nails
Improper removal techniques can make your nails brittle and thin. Rushing the process can harm your nail bed for weeks. To keep your nails strong, learn how to prevent nail damage between salon visits.
The Dangers of Picking or Peeling Gel Polish
Many people try to pick or peel off gel polish. This can damage the top layers of your natural nail. It’s important to wait until the polish has fully softened to avoid damage.
Over-filing the Natural Nail Plate
Using too much pressure with a coarse nail file is another mistake. It’s crucial to use proper nail filing techniques to avoid thinning the nail. Gently break the seal of the top coat instead of scrubbing the nail.
Using Low-Quality Solvents or Harsh Chemicals
The quality of your products affects your nail health. Using low-quality solvents can dry out your skin and nails. Choose high-quality, acetone-based removers for a safe and effective experience.
Post-Removal Nail Care and Hydration
Switching back to bare nails needs a good recovery plan. Acetone removes natural oils, making nails weak. Start now to prevent nail damage and bring back your nails’ shine.
Restoring Moisture with Cuticle Oils and Creams
Keeping your nails moisturized is key after using strong removal products. Use a good cuticle oil twice a day to feed the nail matrix. Consistency is truly the key for soft, healthy skin around the nails.
Also, use a rich hand cream to keep moisture in. Look for shea butter or jojoba oil to deeply nourish. Proper cuticle care after gel removal stops painful hangnails and keeps your nails clean.
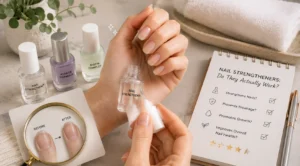
Strengthening Treatments for Brittle Nails
If your nails are thin or break easily, try a strengthening treatment. These products, with keratin or calcium, make your nails stronger. Follow these nail health tips to make your nails thicker.
Stay away from harsh formaldehyde in products. Choose water-based or vitamin-rich formulas for healthy nail growth. Patience is essential for your nails to regain strength.
Allowing Your Nails Time to Breathe Between Manicures
Don’t rush from one gel manicure to the next. Take at least a week off to let your nails rehydrate and recover. This break is crucial for long-term nail health.
While your nails rest, keep them short to avoid breaks. Letting your nails breathe makes them strong for your next manicure. Prioritizing recovery now will pay off later.
When to Seek Professional Help
Knowing when to stop using acetone and go to a salon is key for nail health tips. Home removal works well, but some cases need a pro’s touch to avoid damage.
Identifying Signs of Nail Bed Damage or Infection
Stop using acetone if you see irritation or trauma signs. Persistent pain, swelling, or redness around the cuticle means trouble.
Deep grooves or a thin natural nail are signs of damage. Trying to scrape or file these can cause infections or thin your nail too much.
Benefits of Visiting a Salon for Stubborn Gel
Some gel polish just won’t come off, no matter how hard you try. Professional nail removal ensures safe removal without harming your natural nail.
The main salon gel removal benefits are the use of advanced tools and solvents. A pro can remove the gel gently, keeping your nails safe.
If unsure, put your nail safety first over DIY. A salon visit can prevent weeks of recovery and keep your nails healthy.
Conclusion
Getting a salon-quality look at home is more than just polish. It’s about keeping your nails healthy. By choosing slow and careful, you keep your nails strong for years.
Good habits are key for healthy nails. See each removal as a chance to care for your hands, not just a quick task. Use top brands like OPI or CND to keep your nails strong.
Being careful with your nails makes them last longer and look better. Always moisturize your hands after each step. This keeps your hands looking great and your nails in top shape.
Share your nail care tips with us. Tell us about the best cuticle oils or treatments for your nails. Your advice helps others have healthier nails.