
Polygel nails are loved for their strength, flexibility, and long-lasting finish. They are lighter than acrylics but more durable than traditional gel polish, making them a favorite for many nail lovers. However, when it is time for a fresh set, removing them the right way is just as important as applying them.
Many people make the mistake of peeling or forcing polygel off their nails. While this might seem like the quickest option, it can remove layers of your natural nail and leave them weak, thin, and painful.
The good news is that you can safely remove polygel nails at home with a little patience and the right technique. In this guide, you will learn everything you need to know to remove polygel without causing unnecessary damage.
Can You Remove Polygel Nails at Home?
Yes, you can.
If your polygel nails were applied correctly, they can usually be removed at home using acetone and gentle filing. The process takes some time, but it is much safer than trying to pull the product off.
If your nails have lifting, cracks, or signs of infection, it is best to visit a professional nail technician instead of attempting removal yourself.
What You'll Need
Before getting started, gather all your supplies.
- 100% pure acetone
- Nail file (100 or 180 grit)
- Nail buffer
- Cotton balls or cotton pads
- Aluminum foil
- Cuticle pusher or orangewood stick
- Cuticle oil
- Hand moisturizer
- Small bowl (optional)
Having everything ready before you begin will make the process much smoother.
Step 1: Shorten the Nails
If your polygel extensions are long, clip them down first.
Removing most of the length reduces soaking time and makes the process easier. Leave a small amount above your natural nail to avoid accidentally cutting into it.
Step 2: File Away the Top Coat
The shiny top coat acts as a protective barrier that prevents acetone from reaching the polygel underneath.
Use a coarse nail file to gently remove the glossy surface. You do not need to file all the way down to your natural nail. Simply remove the seal so the acetone can penetrate the product.
Work slowly and avoid pressing too hard.
Step 3: Soak the Nails in Acetone
There are two common methods.
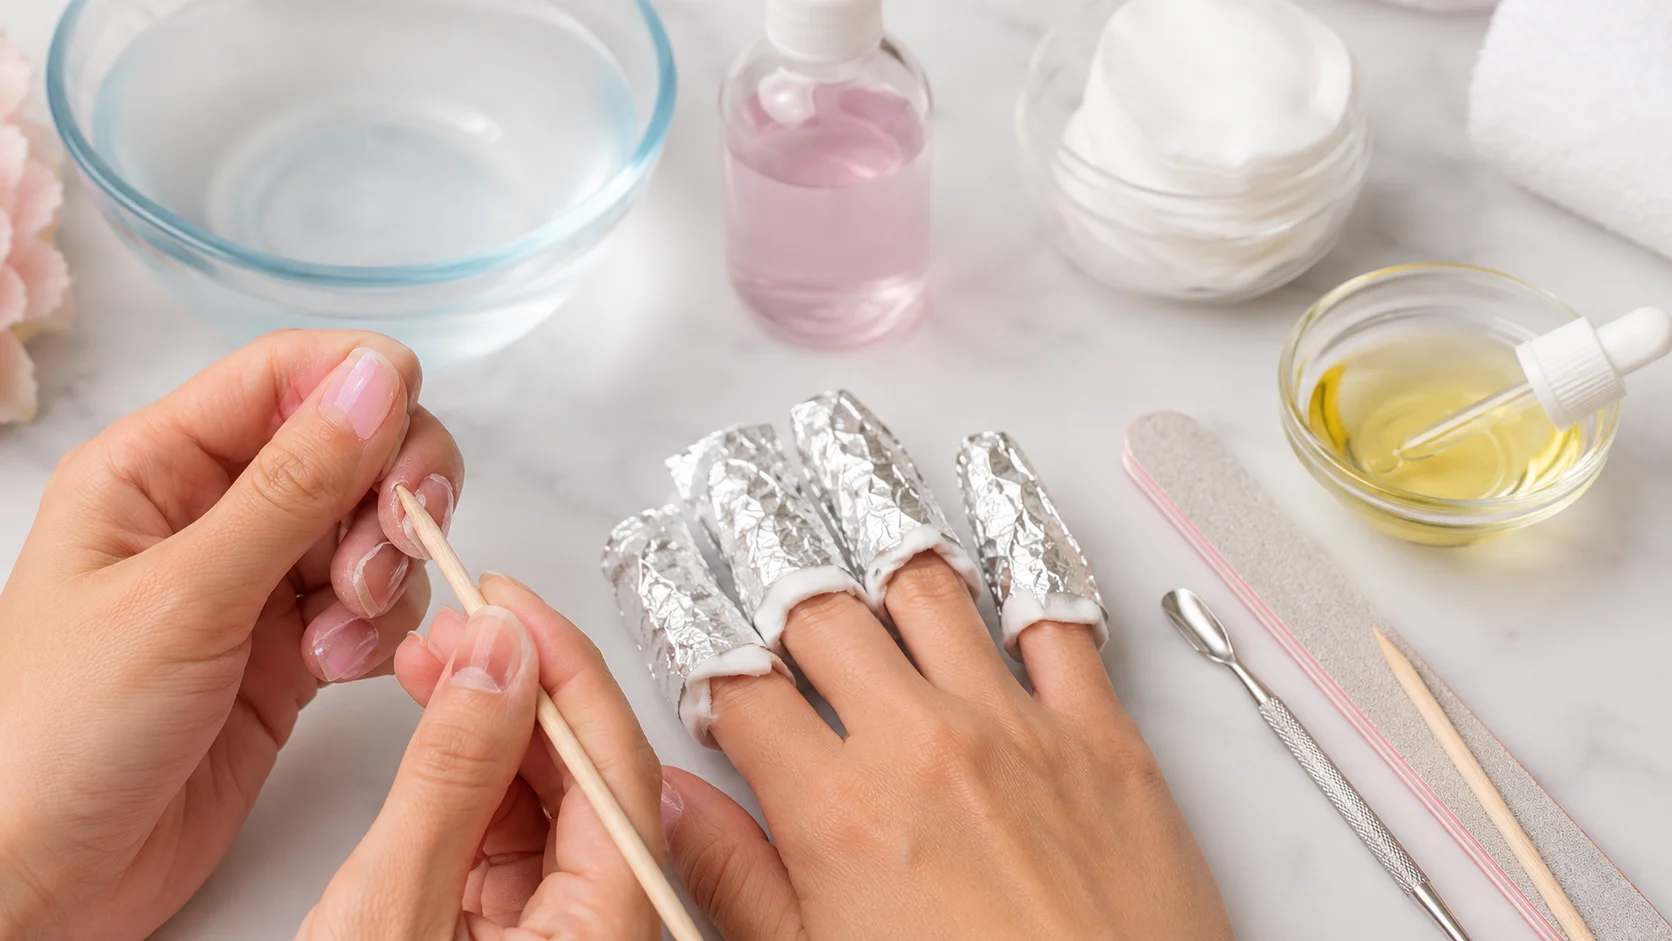
The first method is to soak cotton balls in acetone, place them over each nail, and wrap each finger tightly with aluminum foil.
The second method is to soak your fingertips in a bowl filled with acetone.
The foil method usually works better because it keeps the acetone from evaporating too quickly.
Leave your nails wrapped for about 15 to 20 minutes.
Step 4: Check the Polygel
After soaking, unwrap one nail to see if the product has softened.
If it looks loose and slightly lifted, gently push it away using a cuticle pusher or an orangewood stick.
Never force the product off.
If the polygel still feels hard, wrap the nail again and soak for another 10 minutes.
Patience is the key to protecting your natural nails.
Step 5: Remove Any Remaining Product
Some areas may still have small patches of polygel.
Instead of scraping aggressively, lightly file away the remaining product after another short soak if needed.
Your goal is to remove the enhancement without removing layers of your natural nail.
Step 6: Buff the Nail Surface
Once all the polygel has been removed, gently buff the surface of your nails.
This smooths out any rough spots and creates a clean finish.
Avoid excessive buffing because it can thin the natural nail.
Step 7: Moisturize Your Nails
Acetone removes moisture from both your nails and skin.
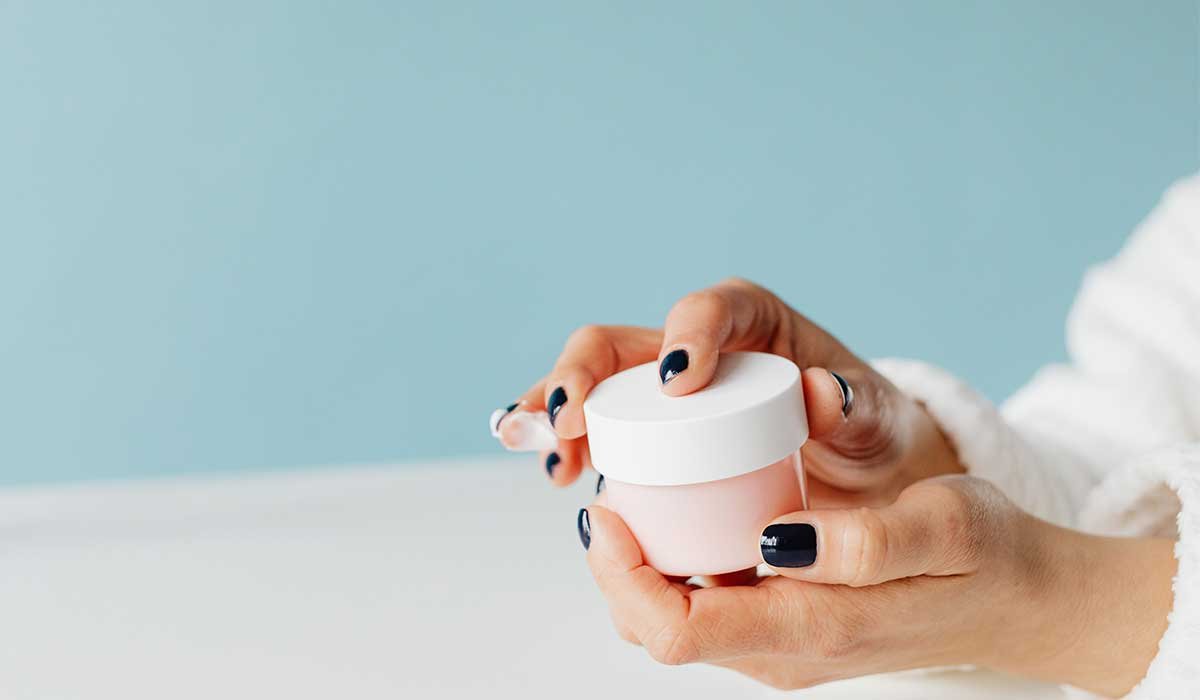
Massage cuticle oil into each nail and follow with a rich hand cream.
This simple step helps restore hydration and keeps your nails healthier after removal.
How Long Does It Take to Remove Polygel Nails?
The entire process usually takes between 30 and 60 minutes.
The exact time depends on several factors, including:
- How thick the polygel was applied
- The brand of polygel used
- Whether the top coat was filed properly
- The strength of the acetone
Trying to rush the process often leads to damaged nails.
Common Mistakes to Avoid
Many nail problems happen during removal rather than application.
One of the biggest mistakes is peeling off lifted polygel. Even if the product is already separating, pulling it away can strip layers from your natural nail.
Another common mistake is skipping the filing step before soaking. Without removing the top coat, acetone cannot reach the polygel effectively.
Using metal tools with too much pressure is another cause of nail damage. Gentle pressure is all that is needed after the product has softened.
Finally, do not forget to moisturize your nails afterward. Hydration plays a major role in healthy nail recovery.
What If Acetone Doesn't Work?
Some polygel systems are more resistant than others.
If the product is still hard after several soaking sessions, avoid scraping harder.
Instead, file away another thin layer of product and soak again.
If the enhancement still refuses to soften or you feel discomfort, visiting a professional salon is the safest choice.
How to Care for Your Nails After Removing Polygel
Your nails may feel slightly dry after removal, even if you followed the process correctly.
For the next few days, focus on restoring moisture and strength.
Apply cuticle oil daily and use a nourishing hand cream regularly. Keep your nails trimmed if they feel weak, and avoid applying another full set immediately if your nails need time to recover.
A strengthening base coat can also provide extra protection while your natural nails regain their condition.
FAQ:
Can I peel off polygel nails?
No. Peeling them off can remove layers of your natural nail, leading to thinning, splitting, and sensitivity.
Do polygel nails always need acetone?
Most soak-off polygel products require acetone for safe removal. Some hard gel systems need professional filing instead.
Can I use regular nail polish remover?
Most regular removers do not contain enough acetone to dissolve polygel effectively. Pure acetone works much better.
Is removing polygel painful?
It should not be painful. If you experience pain, stop forcing the product and soak your nails longer.
How often can I wear polygel nails?
Many people wear polygel continuously, but giving your natural nails an occasional break can help maintain their health.
Final Thoughts
Learning how to remove polygel nails correctly can save your natural nails from unnecessary damage. The process is simple, but it requires patience and gentle handling.
Instead of rushing or peeling the product away, take the time to file the top coat, soak with acetone, and remove softened polygel carefully. Finish with cuticle oil and moisturizer to restore hydration.
Healthy nails begin with proper removal. By following these steps, you can enjoy beautiful polygel manicures while keeping your natural nails strong, smooth, and ready for your next design.

Comments (0)
No comments yet. Be the first to share your thoughts!
Leave a Comment
You must be logged in to post a comment.