How to Remove Gel Nails at Home Without Destroying Your Natural Nails
Gel manicures are loved for their glossy finish and long-lasting wear, but removing them the wrong way can leave your natural nails weak, thin, and damaged. Many people peel or scrape off gel polish when it starts lifting, not realizing that this can remove layers of the natural nail along with the polish. The good news is that you can safely remove gel nails at home without ruining your nails if you use the right method and a little patience.
Professional nail technicians often recommend soaking the gel polish off gently instead of forcing it off. This approach helps protect the nail plate and keeps your nails healthier in the long run. Whether you are trying to save money, skip the salon visit, or simply prefer doing your nails at home, learning the proper removal process is essential.
Why Gel Nails Can Damage Natural Nails
Gel polish itself is not always the main cause of nail damage. The biggest problem usually comes from improper removal. Peeling, picking, and aggressive filing strip away the protective layers of the natural nail, leaving nails brittle and sensitive.
Another issue is over-buffing. Some people use rough nail files to remove the shiny top coat and end up thinning the nail surface too much. Acetone can also dry out the nails and surrounding skin if used excessively without proper aftercare.
When removed correctly, gel nails can be much less damaging than most people think.
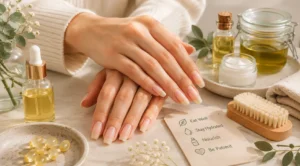
What You Need Before You Start
Before removing your gel nails, gather all the necessary supplies. Having everything ready will make the process smoother and prevent unnecessary nail damage.
You will need:
- Pure acetone
- Cotton balls or cotton pads
- Aluminum foil
- Nail file
- Cuticle pusher or orangewood stick
- Cuticle oil
- Hand cream
- Nail buffer
Using pure acetone is important because regular nail polish remover may not break down gel polish effectively.
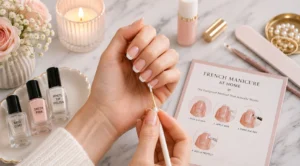
Step 1: Trim and File the Top Layer
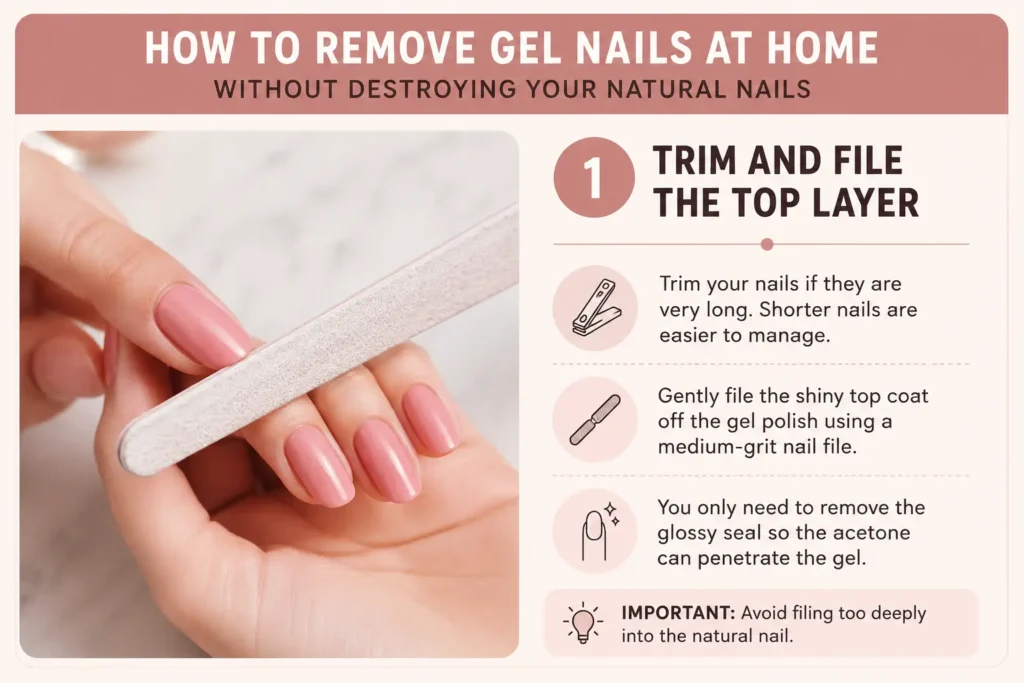
Start by trimming your nails if they are very long. Shorter nails are easier to manage during the removal process.
Next, gently file the shiny top coat off the gel polish using a medium-grit nail file. You only need to remove the glossy seal so the acetone can penetrate the gel more effectively. Avoid filing too deeply into the natural nail.
This step is important because skipping it can make the soaking process take much longer.
Step 2: Protect Your Skin
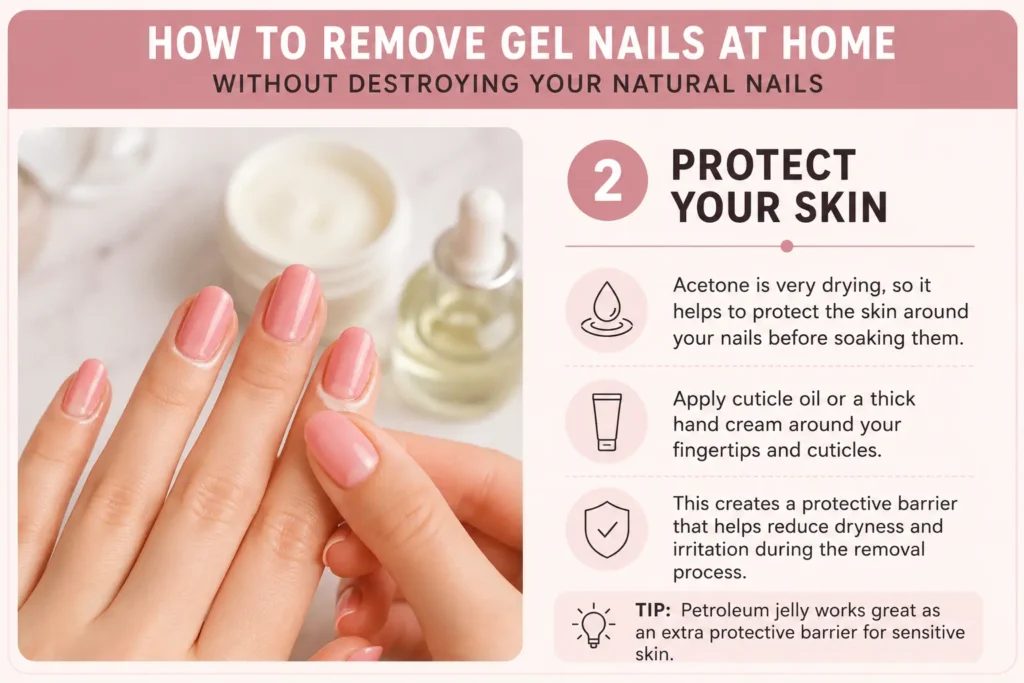
Acetone is very drying, so it helps to protect the skin around your nails before soaking them.
Apply cuticle oil or a thick hand cream around your fingertips and cuticles. Some people even use petroleum jelly as a protective barrier. This can help reduce dryness and irritation during the removal process.
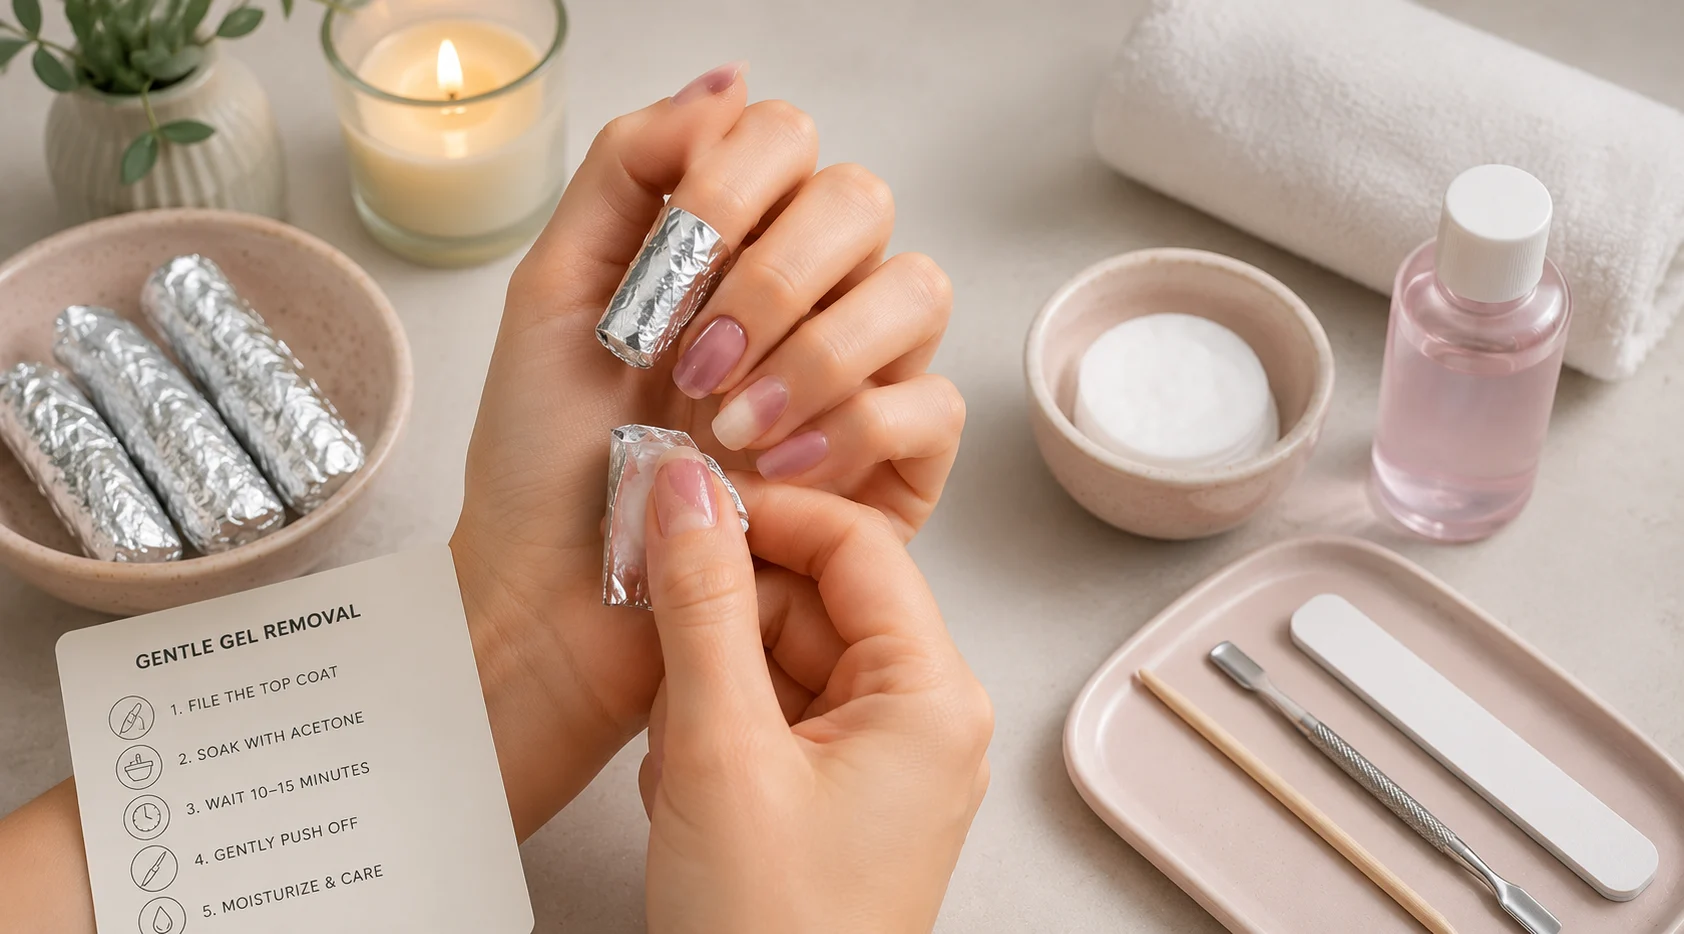
Step 3: Soak the Gel Polish Properly
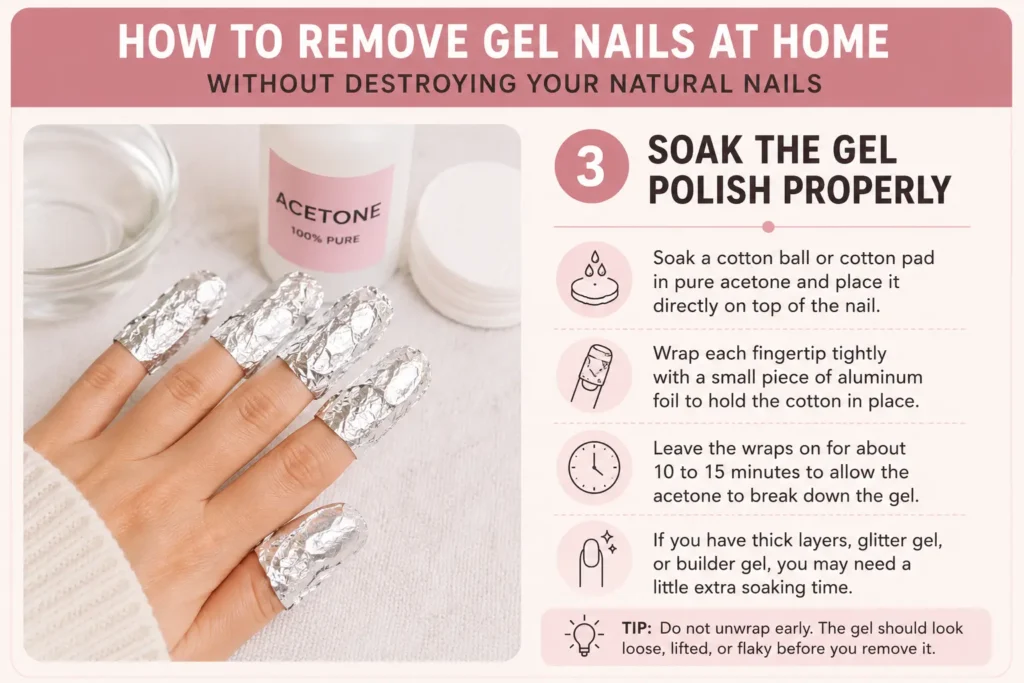
Soak a cotton ball or cotton pad in pure acetone and place it directly on top of the nail. Wrap each fingertip tightly with a small piece of aluminum foil to hold the cotton in place.
Leave the wraps on for about 10 to 15 minutes. During this time, the acetone will begin breaking down the gel polish.
If your gel manicure includes thick layers, glitter gel, or builder gel, you may need a little extra soaking time.
Avoid the temptation to unwrap your nails too early. The gel should look loose, lifted, or flaky before removal.
Step 4: Gently Push Off the Softened Gel
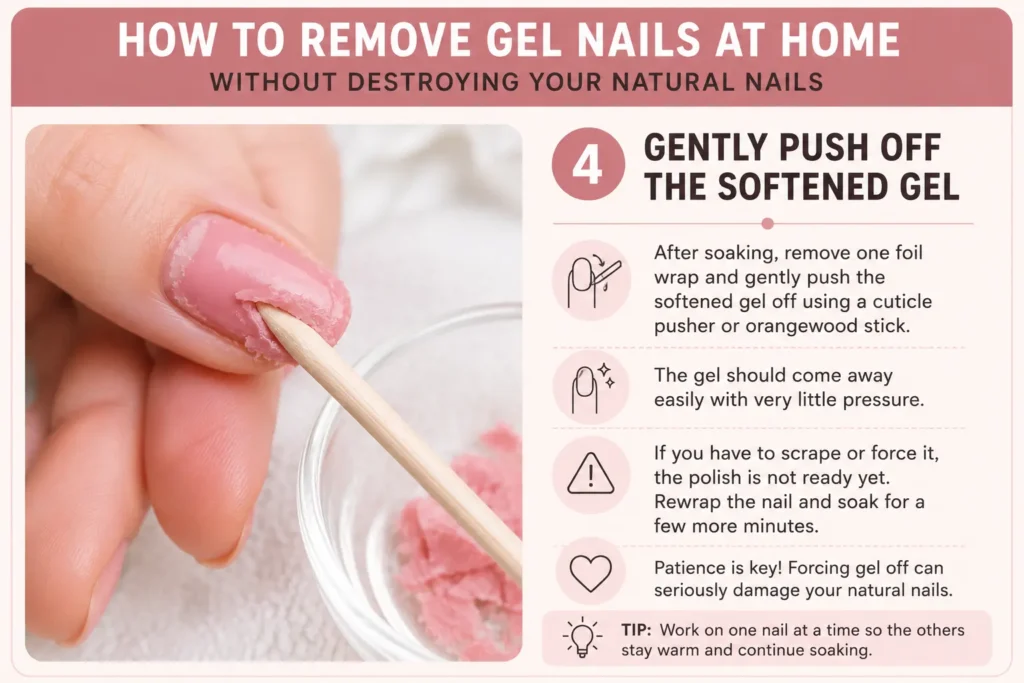
After soaking, remove one foil wrap and gently push the softened gel off using a cuticle pusher or orangewood stick.
The gel should come away easily with very little pressure. If you have to scrape aggressively, the polish is not ready yet. Rewrap the nail and soak for a few more minutes.
Patience is one of the most important parts of safe gel nail removal. Forcing stubborn gel off can seriously damage your natural nails.
Step 5: Buff the Nail Surface Lightly
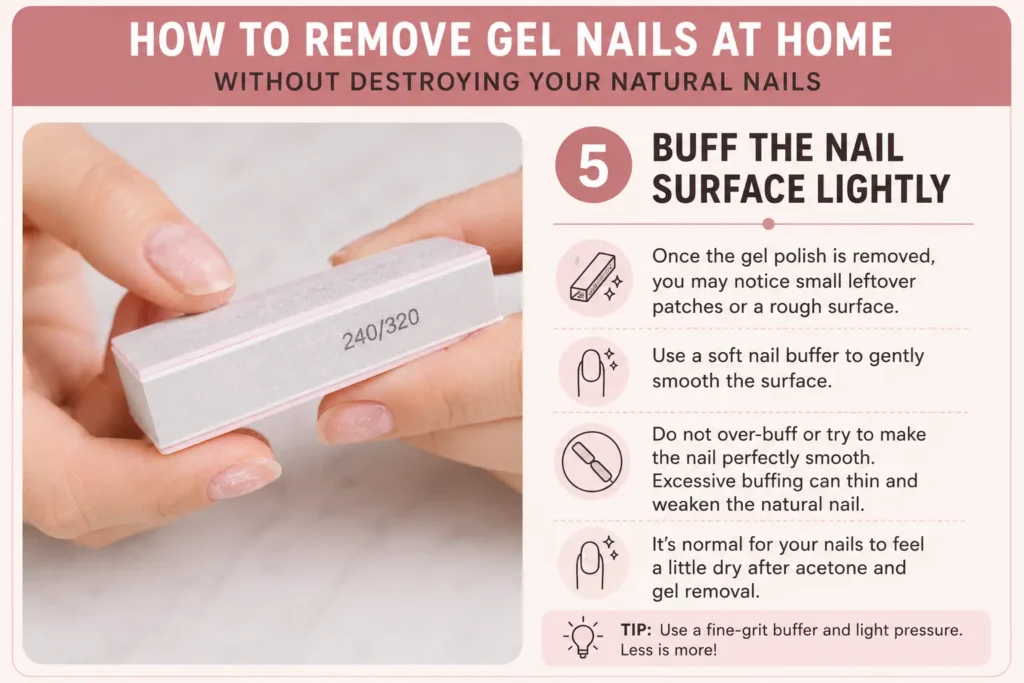
Once the gel polish is removed, you may notice a few small leftover patches. Use a soft nail buffer to smooth the surface gently.
Do not over-buff the nail trying to make it perfectly smooth. Excessive buffing can weaken the nail plate and make nails thinner over time.
At this stage, your nails may feel slightly dry from the acetone, which is completely normal.
Step 6: Rehydrate Your Nails
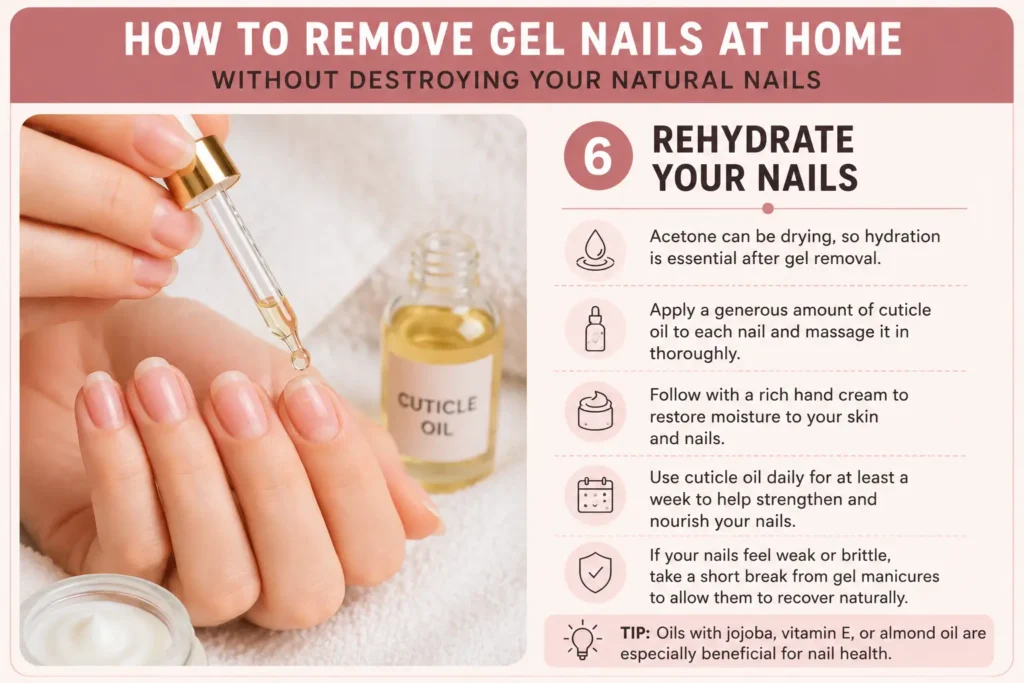
Hydration is the key to healthy nails after gel removal.
Apply a generous amount of cuticle oil to each nail and massage it in thoroughly. Follow with a rich hand cream to restore moisture to the skin and nails.
Many nail experts recommend using cuticle oil daily for at least a week after gel removal. Oils containing jojoba or vitamin E are especially helpful because they absorb well into the nail plate.
If your nails feel weak, consider taking a short break from gel manicures to allow them time to recover naturally.
Common Mistakes That Ruin Natural Nails
One of the biggest mistakes people make is peeling gel polish off by hand. Even if the gel appears loose, peeling can take off layers of your natural nail along with it.
Another common mistake is using metal tools too aggressively. Pushing too hard with a metal scraper can create dents and thinning in the nail surface.
Skipping aftercare is also a problem. Nails need moisture after acetone exposure, and ignoring hydration can leave them dry and brittle.
Finally, many people rush the process. Safe gel removal takes time, and trying to speed things up often causes more damage than the gel manicure itself.
Signs Your Nails Need a Break
Sometimes nails need time to recover between gel manicures. Watch for signs such as peeling, splitting, excessive dryness, or sensitivity.
Healthy nails should feel smooth and strong. If your nails are becoming fragile or painful, taking a break from gel polish for a few weeks can help restore their strength.
During this recovery period, focus on hydration and nail care rather than applying new products immediately.
Healthier Alternatives to Traditional Gel
If your nails are frequently damaged from gel manicures, you may want to explore gentler options.
Some newer gel systems are designed for easier soak-off removal and less filing. Regular nail polish has also improved significantly in recent years, with long-wear formulas that can last surprisingly well without UV curing.
Press-on nails have also become more popular because they can create a salon-style look without as much direct stress on the natural nail.
Final Thoughts
Removing gel nails at home does not have to destroy your natural nails. The secret is using a gentle approach, allowing enough soaking time, and resisting the urge to peel or scrape aggressively.
Healthy nails require patience and consistent care. By following the proper removal steps and keeping your nails hydrated afterward, you can continue enjoying beautiful manicures without sacrificing the health of your natural nails.
A careful removal routine may take a little longer, but your nails will thank you for it in the long run.