DIY Korean-Inspired Nail Art Trends You Can Easily Do at Home
Have you ever seen those stunning, glossy manicures on social media and wished you could do them yourself? The world of DIY Korean-Inspired Nail Art Trends has taken the beauty world by storm. These styles are known for their playful charms, soft gradients, and detailed designs that make each finger look like a tiny masterpiece.
You don’t need to go to a salon to get these high-end looks. Whether you’re new to nail art or have experience, learning easy korean nail art is easier than you think. With basic tools at home, you can turn your manicure routine into a fun, creative activity.

The future of korean nail trends 2026 is all about self-expression and bold, whimsical designs. By learning to do your own korean-inspired nails, you can stay on trend and save money. Get ready to discover simple techniques to express your unique style through your nails.
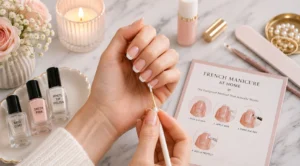
Essential Tools and Prep for DIY Korean-Inspired Nail Art Trends
Starting your nail art journey is easy with the right tools and prep. Before you paint, having the right supplies is key. This ensures your diy korean nail art stays clean and lasts long.
Building Your Korean Nail Art Kit
To get that signature look, you need certain items. First, get high-quality gel polishes for a sheer finish. You’ll also need fine-tipped brushes and a reliable LED lamp for setting designs.

Having these tools makes the process easier. With the right equipment, you can focus on creativity. A professional kit is key to mastering korean nail art at home.
Preparing Your Natural Nails for a Professional Finish
Great art needs a perfect canvas. Start by gently pushing back your cuticles and buffing your nails. This removes oils and helps gel stick better.
Clean your nails with an alcohol wipe for a dry surface. This step is important for a durable foundation for your diy korean nail art. Your manicure will look better and last longer.
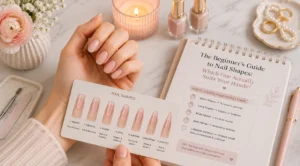
Understanding the Korean Aesthetic Philosophy
The heart of korean aesthetic nails is softness and harmony. It’s about translucent layers and delicate colors. Think soft pinks, milky whites, and subtle gradients.
This style focuses on balance and elegance, not bold coverage. Light and airy designs capture the essence of korean aesthetic nails. This approach makes korean nail art unique and loved worldwide.
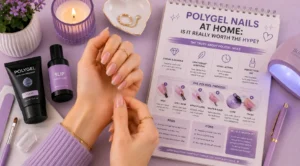
Mastering the Syrup Nail Technique
The syrup nail technique is the secret to those dreamy, translucent looks on social media. It’s a key part of korean nail art, known for its jelly-like finish. This style adds depth and transparency, making your nails look modern and elegant.

Selecting the Right Sheer Gel Polishes
Start with high-quality sheer gel polishes for the perfect look. These formulas are designed to be buildable. This means you can control the color without hiding your natural nail bed. Look for “jelly” or “syrup” finishes for that glass-like transparency needed for korean-inspired nails.
Layering Techniques for a Translucent Gradient
Creating a seamless gradient takes patience and a light touch. Apply a thin base layer of your chosen sheer color to the entire nail first. Then, apply a second layer from the cuticle to the tip, fading as you go. This method is key to korean nail designs, giving you a soft, ethereal finish.
Troubleshooting Common Application Mistakes
Even with the best tools, you might run into small issues. Mastering easy korean nail art means learning to fix these problems before they become big issues. Stay calm and follow a few simple rules to keep your manicure looking perfect.
Avoiding Streaky Finishes
Streaks happen when the gel is applied too thickly or with too much pressure. Use a high-quality, soft-bristled brush to gently float the polish over the nail. If you see uneven patches, let the gel self-level for a few seconds before curing.
Curing Times and Lamp Compatibility
Proper curing is key for long-lasting korean-inspired nails. Always follow the manufacturer’s instructions for your gel brand. Sheer formulas may need different curing times than opaque colors. Make sure your lamp is compatible with your gel system to avoid under-curing issues.
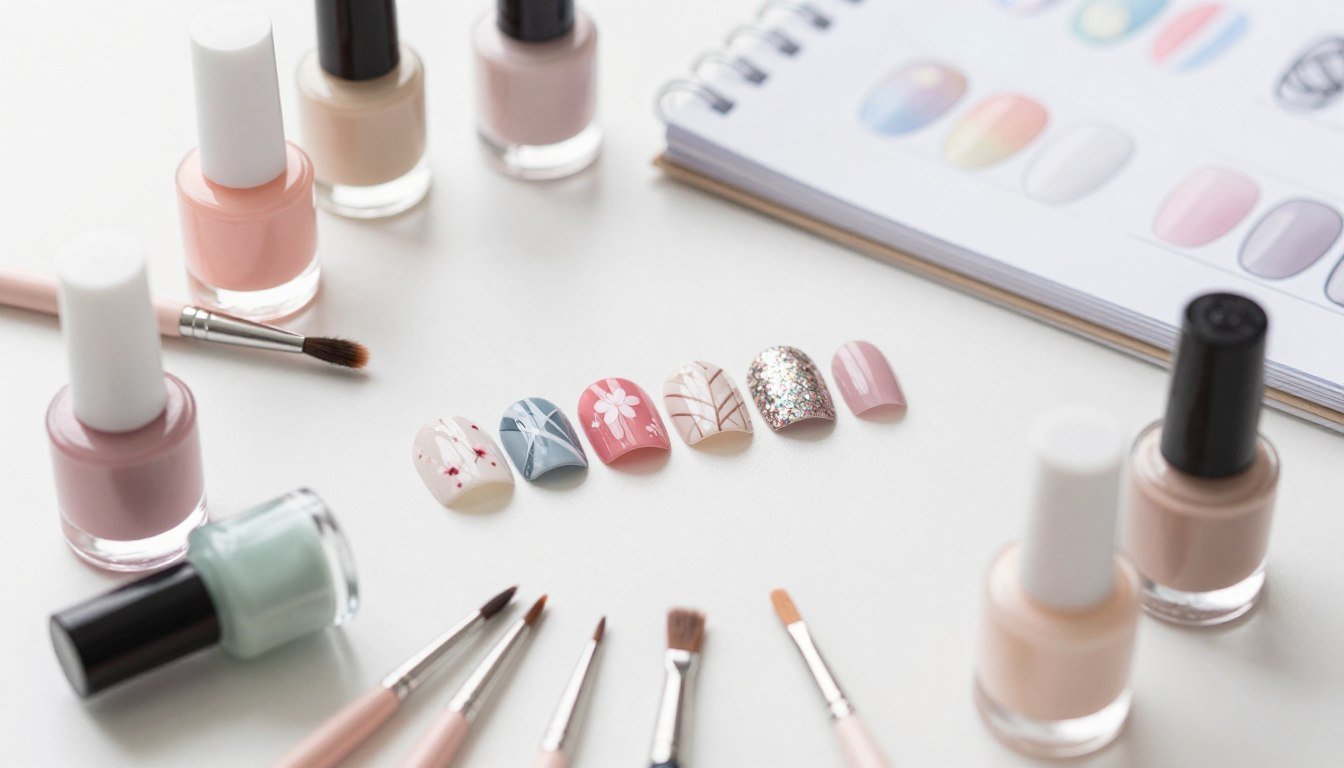
Creating Delicate Floral and Gemstone Accents
Getting into korean nails at home is fun once you try 3D charms and hand-painted details. These small touches make any manicure look professional. With precision and balance, you can get that soft look at home.
Hand-Painting Minimalist Botanical Designs
Minimalist florals are key in korean manicure ideas. Start with a thin liner brush and soft pastel colors. Keep your strokes light to avoid a cluttered look.
Place these designs on one or two nails for a refined look. This keeps your diy korean nail art elegant and perfect for daily wear.
Applying 3D Charms and Flat-Back Crystals
3D charms or flat-back crystals add fun to your nails. Use a wax-tipped picker to place them without smudging. Start with the biggest charm and then add smaller ones.
Securing Embellishments for Long-Lasting Wear
Keeping your korean nail designs in place for weeks needs the right steps. Choose the right bonding agents for a lasting finish.
Choosing the Right Adhesive Gel
For big charms, use a thick adhesive gel. It keeps your charms in place through daily activities. Apply a small bead of gel to the charm’s back before pressing it on the nail.
Sealing with Top Coat Without Losing Shine
After setting your charms, apply top coat around the base. Use a fine brush to avoid covering the crystals. Sealing the edges keeps everything in place while keeping your nails shiny.
Achieving the Perfect Korean Aura and Chrome Finish
Nail art is now all about high-fashion textures. It combines soft gradients with bold mirror effects. These styles are leading the korean nail trends 2026, giving nails a futuristic yet ethereal look. By learning these techniques, you can get professional results at home.
Blending Techniques for the Aura Nail Look
The aura look has a soft, glowing center that fades into a base color. Use highly pigmented eyeshadow powders or special nail pigments. Precision is key when applying the color to the center of your nail.
Apply the pigment with a soft, rounded sponge brush. Dab gently in small, circular motions. This creates a dreamy, soft-focus look.
Applying Chrome Powders for a Mirror Effect
Chrome powders give a high-shine finish that makes any design pop. First, apply a non-wipe top coat and cure for about 30 seconds. This makes the surface ready for the powder.
Use a silicone tool or soft applicator to buff the chrome powder onto the nail. Apply light pressure until it looks smooth and reflective. Seal with a final top coat to keep the shine and prevent chipping.
Combining Textures for a Modern Korean Style
Creating korean aesthetic nails means playing with contrast. Mixing finishes adds depth and sophistication. Try these combinations to upgrade your style:
- Matte base with glossy chrome tips.
- Glossy aura center surrounded by a matte perimeter.
- Chrome accents over a velvet-textured base.
Mixing Matte and Glossy Finishes
The contrast between matte and glossy is key in diy nail art trends. Start with a matte top coat on your entire nail. Then, use a thin liner brush to paint glossy designs on top. This adds a subtle, tactile dimension that shines beautifully.
Adding Subtle Glitter Highlights
For extra glamour, add fine glitter to your aura designs. Place a small amount of iridescent glitter in the center of your aura gradient. This adds a sparkling depth that makes your nails glow.
Conclusion
Learning these artistic techniques lets you show off your creativity. You can now make stunning korean nails at home, just like the pros.
Keep practicing to get better. Soon, you’ll have a style that shows off your personality through these popular trends.
Brands like Dashing Diva or OPI have great products to help you. Try new colors and textures to keep your look interesting.
Share your favorite nail art with friends. It’s a great way to spread the joy of self-expression. Your journey to beautiful manicures starts with your next design.