Ombre nails have remained one of the most popular manicure styles for years, and for good reason. They are elegant, versatile, and surprisingly customizable. Whether you prefer soft nude blends, romantic pink fades, bold summer colors, or trendy chrome finishes, the ombre effect works with almost any color combination.
The best part is that you don't need to be a professional nail artist to create beautiful ombre nails at home. While the finished look appears sophisticated, the basic technique is beginner-friendly once you understand the process.
If you've always admired those smooth color transitions on Pinterest and Instagram but felt intimidated by the idea of recreating them yourself, this guide will walk you through everything you need to know.
What Are Ombre Nails?
Ombre nails feature a gradual transition between two or more colors.
Instead of a sharp line separating shades, the colors blend seamlessly into one another, creating a soft gradient effect.
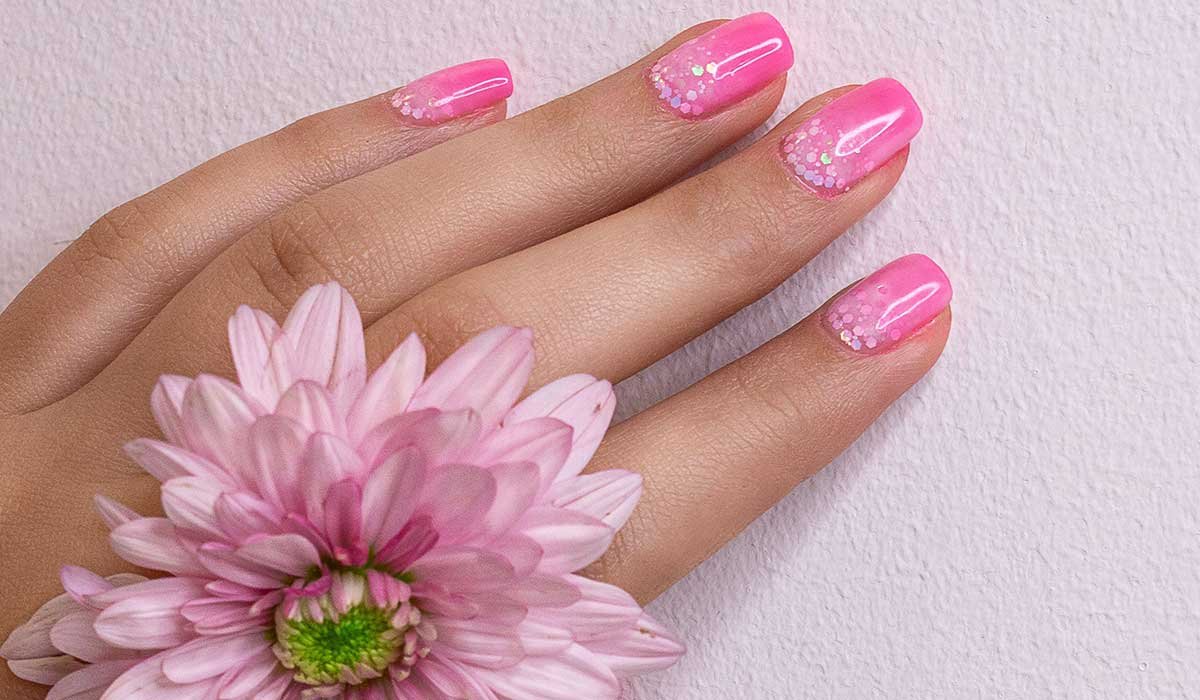
One of the most popular examples is the classic baby boomer manicure, which blends a natural pink base into soft white tips. However, modern ombre nails come in countless variations, from pastel combinations to vibrant neon fades and even chrome finishes.
The beauty of ombre nails is that they can look subtle enough for everyday wear or dramatic enough for special occasions.
Why Ombre Nails Are So Popular
Unlike many nail trends that come and go, ombre nails have remained relevant because they suit nearly every style.
They work well for:
Weddings
Everyday wear
Vacations
Office environments
Special events
The blended appearance also helps nails grow out more gracefully compared to some traditional nail designs.
Because there are no harsh lines, minor growth is often less noticeable.
Choosing the Right Colors
Before starting, decide on your color combination.
For beginners, similar shades tend to blend more easily than dramatically different colors.
Popular beginner-friendly combinations include:
Nude and white
Light pink and white
Peach and pink
Lavender and soft purple
As you become more confident, you can experiment with bolder combinations such as blue and silver, coral and orange, or chrome effects layered over gradients.
The smoother the color transition, the more professional the final result will appear.
What You'll Need
Creating ombre nails at home requires only a few basic supplies.
You'll need:
Base coat
Two nail polish colors
Makeup sponge
Top coat
Nail polish remover
Small cleanup brush or cotton swab
Cuticle oil
Most people already have many of these items at home.
The makeup sponge is what creates the blended effect.
Step 1: Prepare Your Nails
Like any manicure, preparation is essential.
Start by removing old polish and washing your hands.
Trim and file your nails into your preferred shape.
Then gently push back your cuticles and lightly buff the nail surface if necessary.
Clean nails help polish adhere more effectively and create a smoother final result.
Good preparation often makes the difference between a manicure that lasts several days and one that chips quickly.
Step 2: Apply a Base Coat
Apply a thin layer of base coat to each nail.
This protects the natural nail from staining and creates a smooth foundation for the polish.
Allow the base coat to dry completely before moving on.
Skipping this step may reduce the longevity of your manicure.
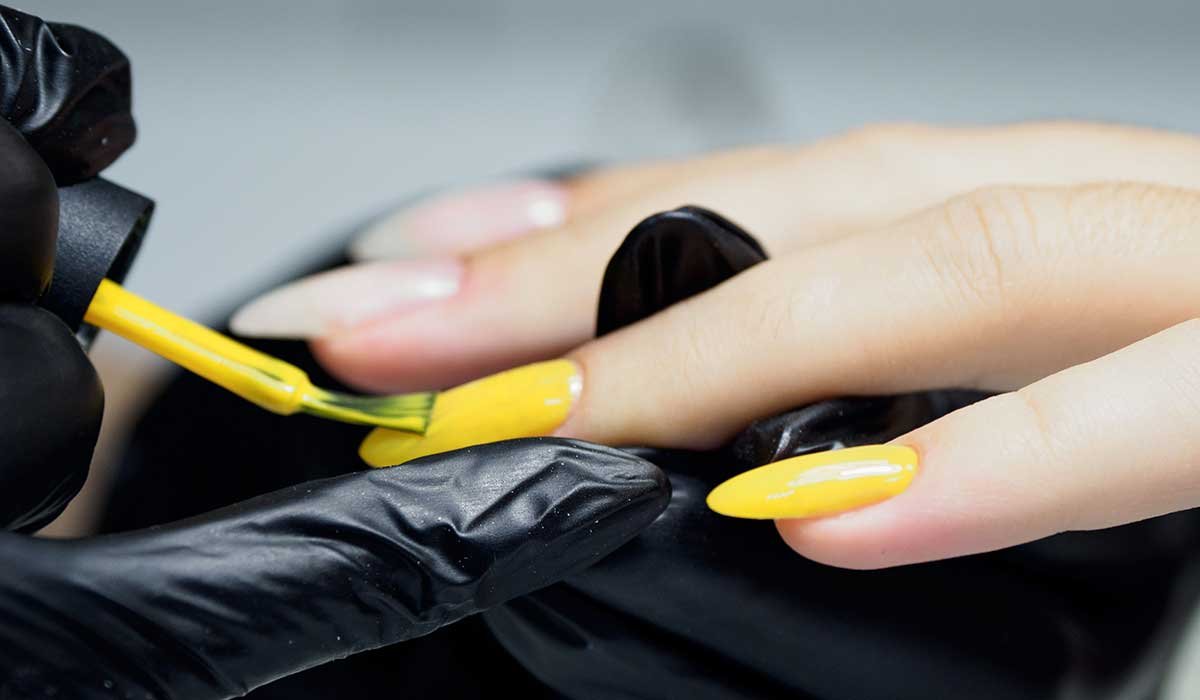
Step 3: Apply the Base Color
Most ombre manicures begin with the lighter of the two colors.
Apply one or two thin coats of your chosen base shade.
For example, if you're creating a pink-to-white ombre, apply the pink polish first.
Allow the color to dry before starting the blending process.
A smooth base layer helps the gradient appear more seamless.
Step 4: Create the Ombre Effect
This is the step that creates the signature gradient look.
Apply both polish colors side by side onto a small makeup sponge.
The colors should slightly overlap where they meet.
Gently press the sponge onto the nail using a dabbing motion.
Do not drag the sponge across the nail.
The repeated dabbing helps blend the colors naturally.
The first application may look imperfect, and that's completely normal.
Most ombre manicures require multiple layers to achieve a smooth gradient.
Step 5: Repeat Until the Blend Looks Smooth
Allow the first sponge layer to dry briefly.
Then repeat the process.
Most beginners need two to four sponge applications before achieving the desired effect.
Each layer improves color intensity and softens the transition between shades.
Patience is important here.
Rushing often creates streaks rather than a smooth gradient.
The gradual buildup is what makes ombre nails look professional.
Step 6: Clean Up Around the Nails
The sponge method can get a little messy.
It's normal for polish to end up on the skin surrounding the nails.
Use a cleanup brush dipped in nail polish remover or a cotton swab to carefully clean around the edges.
This step instantly makes the manicure look more polished.
Even simple nail art appears far more professional when the edges are neat and clean.
Step 7: Apply Top Coat
A good top coat is the secret weapon of ombre nails.
It helps smooth out the slightly textured appearance left by the sponge and blends the colors together even further.
Many people are surprised by how much better their ombre nails look after applying top coat.
The finish becomes glossier, smoother, and more seamless.
Allow the top coat to dry completely.
Step 8: Finish With Cuticle Oil
Once everything is dry, apply cuticle oil around each nail.
This restores moisture, improves the appearance of the surrounding skin, and gives the manicure a salon-quality finish.
Healthy cuticles make every manicure look more expensive.
It's a small step that creates a noticeable difference.
Common Ombre Nail Mistakes
Most beginner frustrations come from a few common mistakes.
One of the biggest is using too much polish on the sponge. Excess product can create a thick, uneven finish.
Another mistake is expecting perfection after a single sponge application. Ombre nails typically require several layers to achieve a smooth blend.
Many beginners also skip the top coat, not realizing how important it is for smoothing and blending the gradient.
The process becomes much easier with practice.
The Best Ombre Nail Ideas for Beginners
If you're trying ombre nails for the first time, start with simple color combinations.
Pink and white remains one of the easiest and most elegant options.
Nude and beige combinations also create beautiful, natural-looking gradients.
For seasonal inspiration, soft peach, lavender, baby blue, and milky white shades are excellent beginner choices.
Once you master the technique, you can experiment with glitter, chrome powders, jelly finishes, and more advanced color combinations.
How Long Do Ombre Nails Last?
When created with regular nail polish, ombre nails generally last about a week before showing noticeable wear.
Using a quality base coat and top coat can help extend wear time.
If created with gel polish, ombre manicures often last two to three weeks.
The longevity depends largely on nail preparation, application technique, and daily habits.
Regular cuticle oil can also help maintain nail health between manicures.
Why Ombre Nails Remain a Classic Trend
Many nail trends become popular for a season and then disappear.
Ombre nails have remained relevant because they strike the perfect balance between creativity and elegance.
They can be bold or subtle, trendy or timeless, simple or glamorous.
Few nail designs offer that level of versatility.
Whether you're creating a bridal manicure, a vacation look, or an everyday style, ombre nails always feel appropriate.
Final Thoughts
Ombre nails may look complicated at first glance, but they are one of the most achievable nail art techniques for beginners. With a makeup sponge, two complementary colors, and a little patience, you can create beautiful gradients that look far more advanced than they actually are.
The key is focusing on thin layers, gradual blending, and proper finishing techniques. Don't worry if your first attempt isn't perfect. Like any nail skill, ombre application becomes easier with practice.
Once you master the basics, you'll discover endless possibilities for customization, from classic pink-and-white fades to trendy chrome, jelly, and seasonal color combinations.
The result is a manicure that looks stylish, elegant, and surprisingly professional without ever needing a salon appointment.

Comments (0)
No comments yet. Be the first to share your thoughts!
Leave a Comment
You must be logged in to post a comment.