Press-on nails have completely transformed in recent years. Gone are the days of flimsy plastic nails that popped off within a few hours. Today's press-ons are stronger, more realistic, and capable of lasting up to two weeks or even longer when applied correctly.
It's no surprise that press-on nails have become one of the biggest beauty trends of 2026. They're affordable, beginner-friendly, and available in countless colors, lengths, and designs. Best of all, you can achieve a salon-quality manicure in minutes without dealing with drying time, UV lamps, or expensive appointments.
The secret, however, is proper application.
Most people who struggle with press-ons are not using the right preparation or application techniques. If you want your press-on nails to stay secure for up to two weeks, here's everything you need to know.
Why Modern Press-On Nails Are So Popular
Today's press-on nails are dramatically different from the versions many people remember.
Modern sets offer:
Realistic shapes
Lightweight designs
Stronger adhesives
Salon-inspired styles
Easy removal
Minimal nail damage
Many beauty enthusiasts now alternate between press-ons and traditional manicures because they provide flexibility without a major time commitment.
For special events, vacations, weddings, or everyday wear, press-ons have become a practical alternative to salon enhancements.
Can Press-On Nails Really Last 2 Weeks?
Yes, but only if they are applied correctly.
Many people experience nails popping off after a few days because they skip preparation steps or use too much adhesive.
A properly applied set can often remain secure for 10 to 14 days depending on:
Nail preparation
Adhesive quality
Daily activities
Nail shape selection
Application technique
The difference between a three-day manicure and a two-week manicure often comes down to preparation.
Step 1: Start With Clean, Bare Nails
Press-on nails adhere best to a clean surface.
Remove any existing nail polish and thoroughly wash your hands.
Next, wipe each nail with rubbing alcohol or nail dehydrator.
This removes natural oils that can interfere with adhesion.
Many application failures occur because oils remain on the nail surface.
The cleaner the nail, the better the bond.
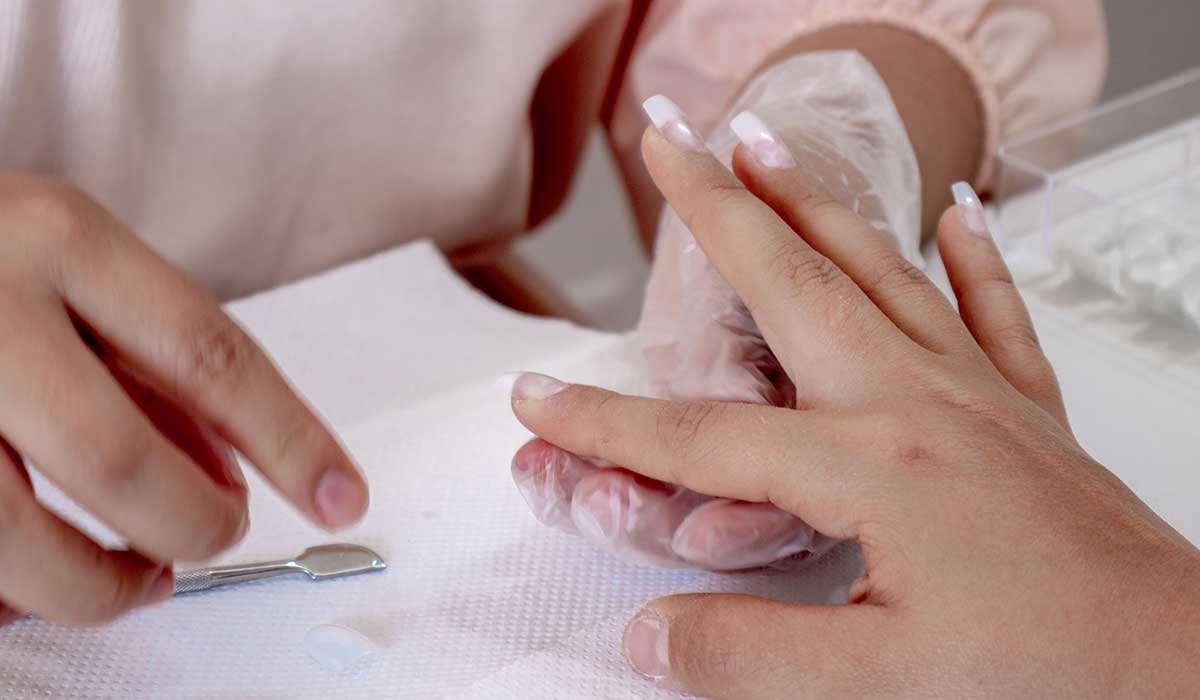
Step 2: Push Back Your Cuticles
Cuticle preparation is one of the most overlooked steps.
Using a cuticle pusher, gently push back the cuticles to expose the entire nail plate.
Press-ons should sit directly on the nail rather than on skin or cuticle tissue.
This creates a stronger bond and helps prevent premature lifting.
Even a few extra millimeters of exposed nail surface can improve wear time significantly.
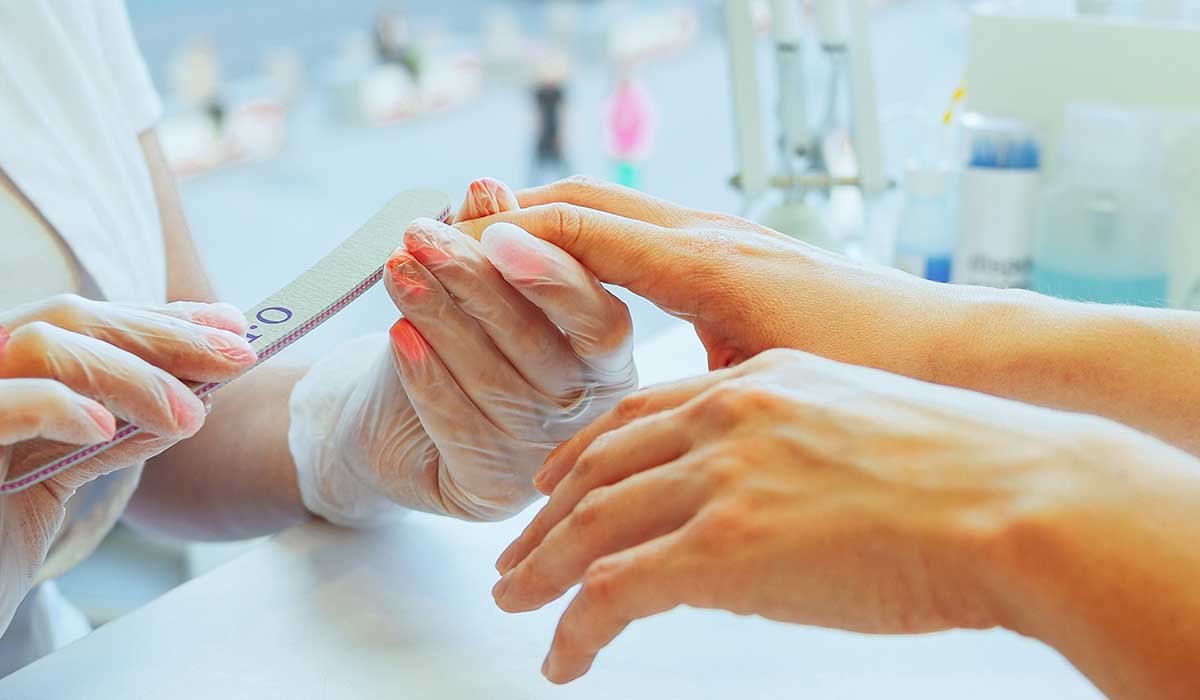
Step 3: Lightly Buff the Nail Surface
A smooth, shiny nail may look healthy, but it is not ideal for adhesion.
Use a gentle buffer to remove the natural shine from the nail surface.
This creates slight texture that helps the adhesive grip more effectively.
Avoid over-buffing.
The goal is to create a matte finish, not thin the nail.
A few light passes are usually enough.
Step 4: Choose the Correct Nail Size
Sizing is one of the biggest factors in press-on longevity.
Many people choose nails that are slightly too large.
A properly fitted press-on should cover the nail from sidewall to sidewall without touching the surrounding skin.
If a nail falls between sizes, choosing the slightly smaller option often creates a better fit.
Taking a few extra minutes during sizing can dramatically improve the final result.
Step 5: Use the Right Amount of Glue
More glue is not always better.
Excessive glue can create air pockets, while too little glue may reduce hold.
Apply a small amount of glue to both:
The natural nail
The press-on nail
This double-glue method often creates a stronger bond.
Spread the adhesive evenly rather than allowing it to pool in one area.
Balanced coverage is the goal.
Step 6: Apply Pressure Correctly
Once the nail is positioned, press it firmly onto the natural nail.
Hold steady pressure for approximately 20 to 30 seconds.
Many people release too quickly.
The extra time allows the adhesive to begin setting properly.
Focus on pressing from the cuticle area toward the tip to reduce trapped air bubbles.
A secure initial bond is essential for long wear.
Step 7: Avoid Water Immediately After Application
This is one of the most important tips in the entire process.
Try to avoid water exposure for at least one to two hours after applying press-ons.
Some nail enthusiasts prefer applying them before bed because it allows the adhesive to cure overnight.
Early water exposure can weaken the bond before it fully stabilizes.
Patience during this stage often leads to significantly longer wear.
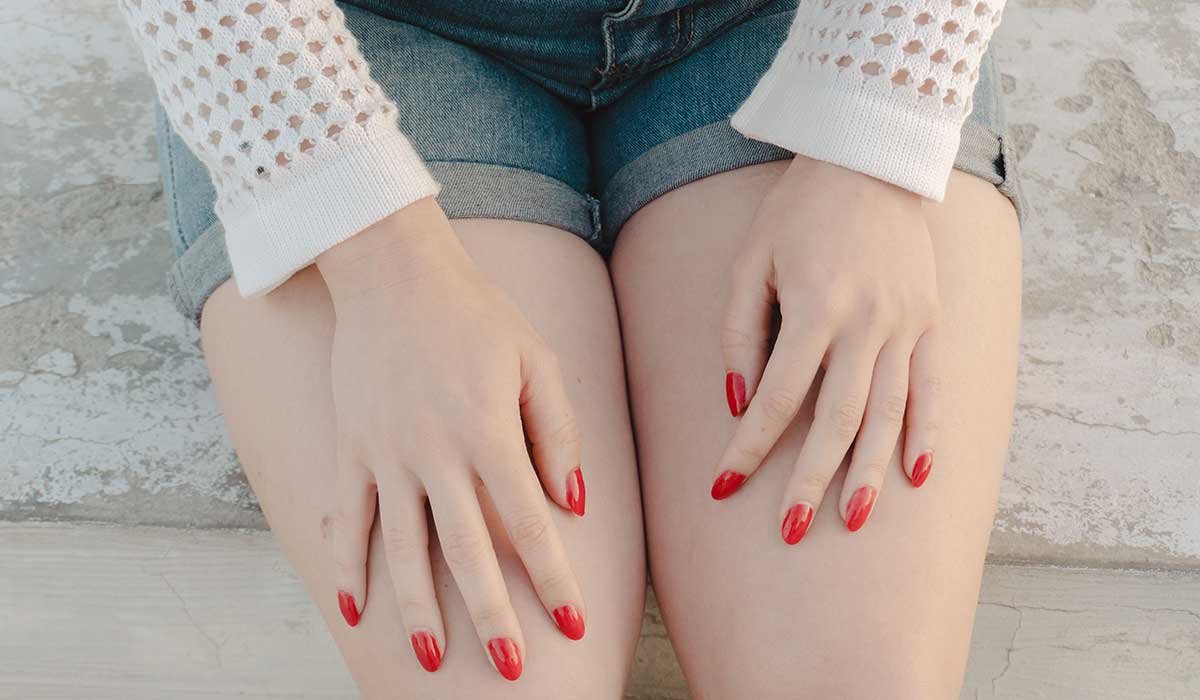
The Best Nail Shapes for Long Wear
Not all nail shapes perform equally.
Certain shapes are naturally more durable because they experience less leverage during daily activities.
Short Oval
Short oval nails are among the most practical options available.
The rounded edges reduce snagging and make breakage less likely.
They work well for:
Office jobs
Parenting
Fitness routines
Everyday wear
Squoval
Squoval nails combine the durability of square nails with the softness of rounded corners.
This shape remains one of the most universally flattering choices.
Many press-on beginners find squoval shapes particularly easy to maintain.
Short Almond
Short almond nails offer elegance without excessive length.
Because they taper gently toward the tip, they often experience less pressure than square styles.
This makes them both stylish and practical.
Medium Coffin
For those who prefer longer nails, medium coffin shapes often provide the best balance between fashion and durability.
Extremely long coffin nails may be more vulnerable to lifting and accidental damage.
Shapes That May Not Last as Long
Longer shapes naturally experience more stress.
Very long:
Stiletto nails
Extra-long coffin nails
Extreme almond nails
may require more maintenance because the added length creates leverage during everyday activities.
This does not mean they cannot last, but they generally demand more care.
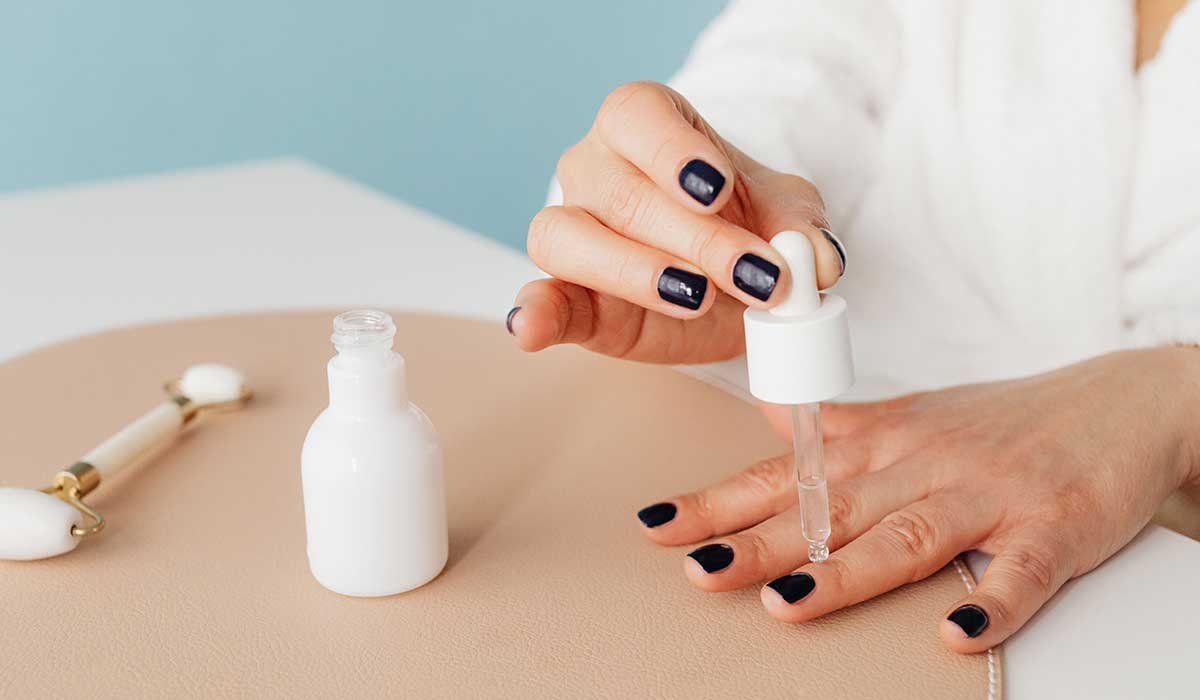
Daily Habits That Extend Wear Time
How you treat your nails after application matters just as much as the application itself.
To help press-ons last longer:
Wear gloves while cleaning
Avoid using nails as tools
Apply cuticle oil around the nails
Be gentle when opening packages
Avoid picking at edges
Small habits often determine whether your manicure lasts four days or two weeks.
Common Press-On Nail Mistakes
Many press-on issues can be traced back to a few simple mistakes.
Common problems include:
Skipping alcohol cleansing
Choosing incorrect sizes
Applying too much glue
Touching cuticles with adhesive
Exposing nails to water too soon
Rushing the application process
Avoiding these mistakes can significantly improve longevity.
How to Remove Press-On Nails Safely
Never forcefully pull off press-on nails.
Doing so can remove layers of the natural nail and cause unnecessary damage.
Instead, soak your nails in warm soapy water and gently loosen the adhesive.
You can also use cuticle oil around the edges to help break down the bond.
Patience is important.
Proper removal helps keep your natural nails healthy for future applications.
Are Press-On Nails Better Than Salon Nails?
The answer depends on your goals.
Press-ons offer:
Lower cost
Easy application
No curing lamps
Minimal commitment
Easy style changes
Salon enhancements generally provide longer wear and more customization.
For many people, press-ons strike the perfect balance between convenience and appearance.
The rapid improvement in quality has made them a legitimate alternative to professional services.
Summary
Press-on nails have earned their place as one of the biggest nail trends of recent years. When applied properly, they can look remarkably similar to salon enhancements while costing a fraction of the price.
The key to making press-on nails last two weeks is preparation. Clean nails, proper sizing, gentle buffing, quality adhesive, and patience during application all play important roles in achieving long-lasting results.
Whether you prefer short oval nails for everyday wear or trendy almond shapes for special occasions, the right application technique can make all the difference.
With a little practice, press-on nails can become one of the fastest, easiest, and most affordable ways to enjoy beautiful nails at home.
Comments (0)
No comments yet. Be the first to share your thoughts!
Leave a Comment
You must be logged in to post a comment.