A professional manicure can make your hands look polished, elegant, and well cared for. The good news is that you don't need regular salon appointments to achieve beautiful nails. With the right tools, a little patience, and a simple step-by-step process, you can create a salon-quality manicure at home even if you've never done one before.
Many people assume professional-looking nails require advanced skills or expensive products. In reality, most great manicures come down to proper preparation, careful application, and good aftercare. The difference between a manicure that chips after two days and one that lasts over a week often has less to do with the polish itself and more to do with the technique used.
If you're new to nail care or simply want better results from your at-home manicures, this beginner's guide will walk you through everything you need to know.
Why At-Home Manicures Are More Popular Than Ever
DIY manicures have become increasingly popular because they offer convenience, flexibility, and significant cost savings.
Instead of scheduling appointments and paying salon prices, you can maintain beautiful nails whenever it fits your schedule.
An at-home manicure allows you to:
Save money
Experiment with colors
Learn useful nail care skills
Maintain your nails regularly
Customize your look
Once you understand the basics, the process becomes surprisingly simple.
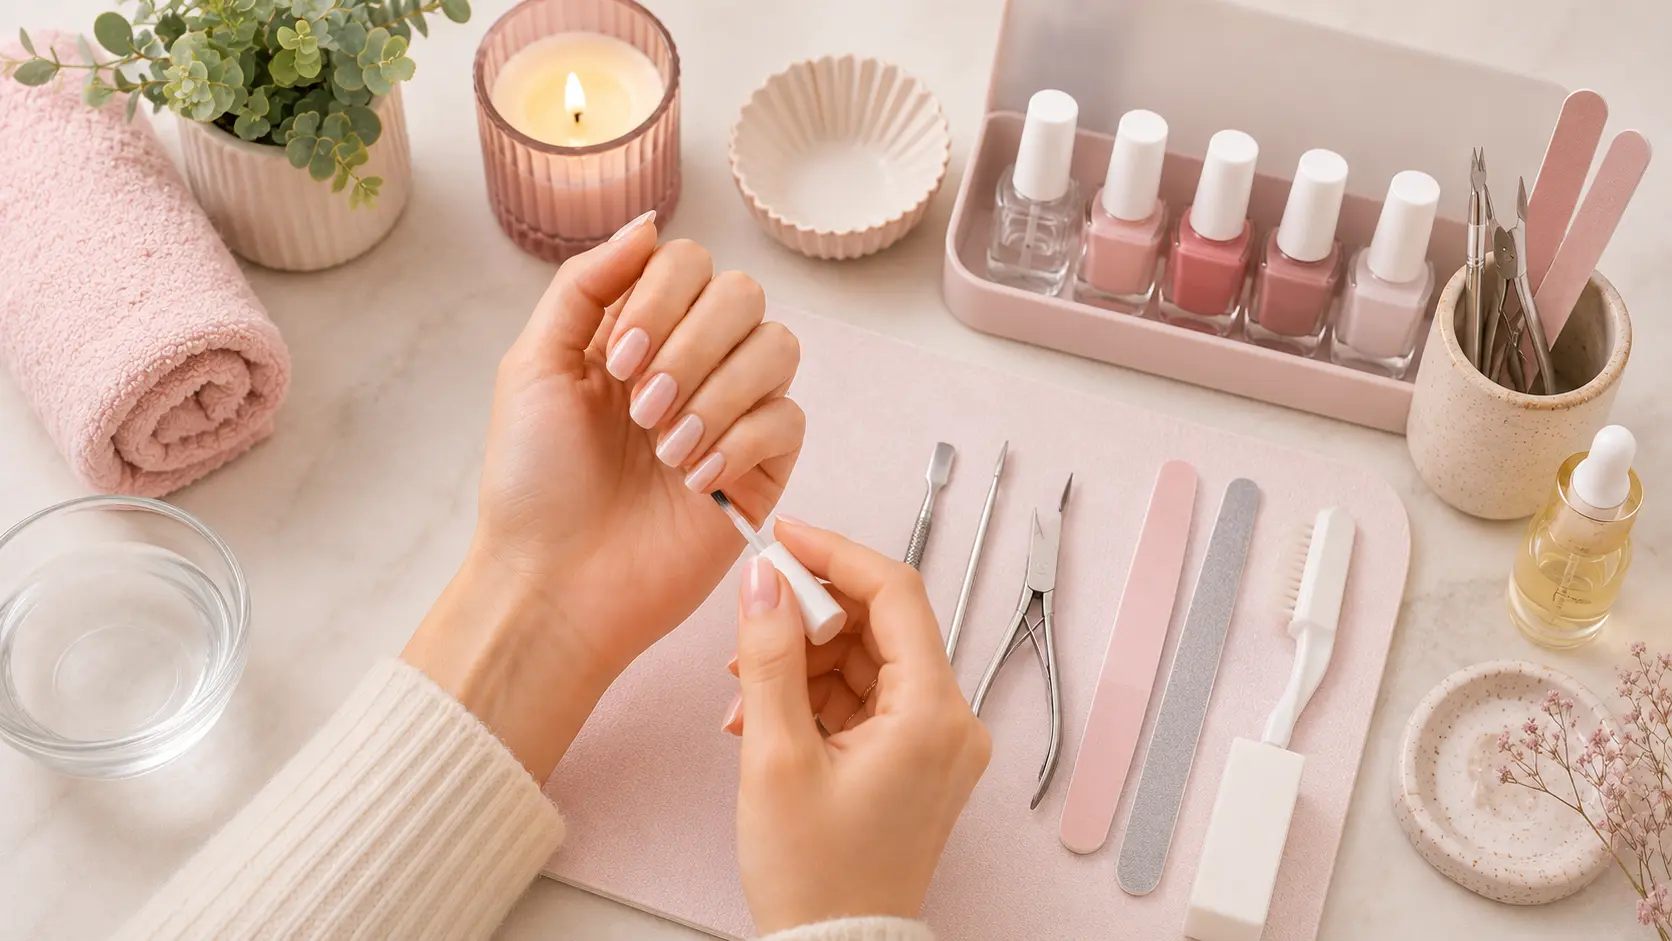
What You'll Need
Before you begin, gather your manicure essentials.
A basic at-home manicure kit should include:
Nail clippers
Nail file
Nail buffer
Cuticle pusher
Nail polish remover
Cotton pads
Base coat
Nail polish
Top coat
Cuticle oil
Hand cream
You don't need professional-grade equipment to achieve great results. Consistent technique matters much more than expensive tools.
Step 1: Remove Old Nail Polish
Start with a clean canvas.
Use nail polish remover and a cotton pad to remove any existing polish.
Take your time and ensure the nail surface is completely clean.
Even tiny traces of old polish can affect the appearance of your new manicure.
Once the nails are clean, wash your hands and dry them thoroughly.
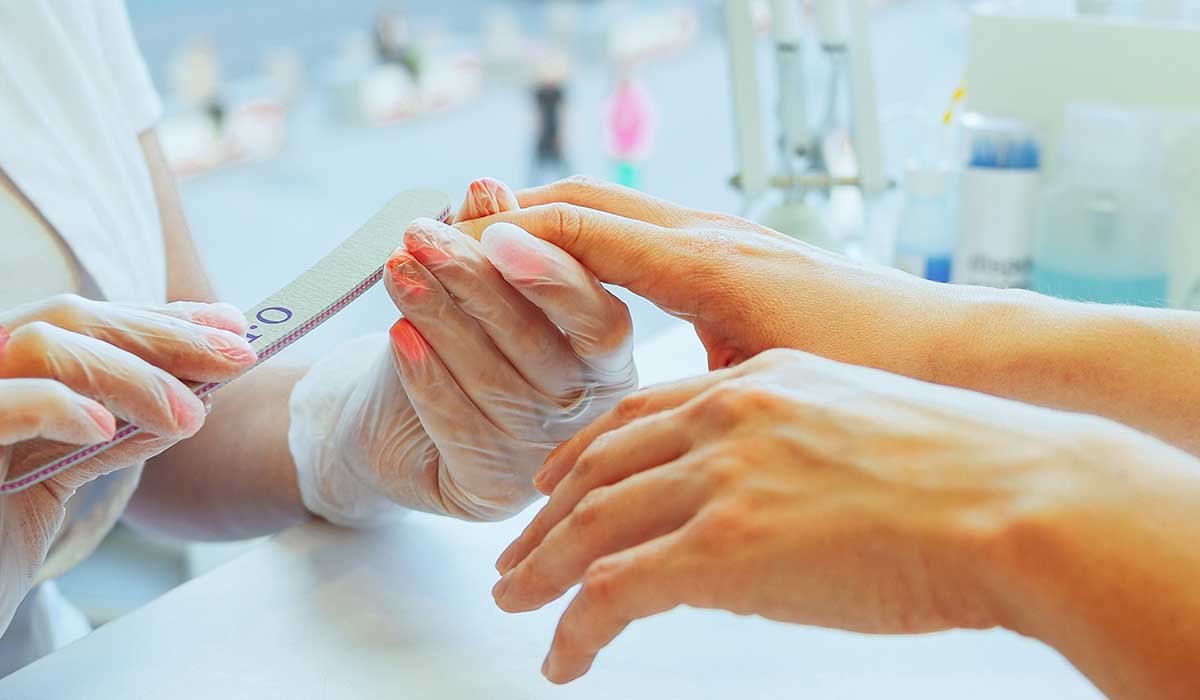
Step 2: Trim and Shape Your Nails
Next, trim your nails if necessary.
Choose a length that suits your lifestyle and personal preferences.
After trimming, use a nail file to shape the nails.
Popular beginner-friendly shapes include:
Round
Oval
Squoval
Try to keep the lengths and shapes consistent across all fingers.
File gently rather than aggressively sawing back and forth, which can contribute to splitting.
A clean shape immediately makes nails look more polished.
Step 3: Soften and Push Back Cuticles
Healthy cuticles help protect your nails, so they should be treated gently.
Soak your fingertips in warm water for a few minutes or apply a cuticle softener.
Using a cuticle pusher, gently push the cuticles back.
Avoid cutting healthy cuticle tissue whenever possible.
Many beginners assume cuticles need to be removed completely, but simply pushing them back often creates a clean, professional appearance while preserving nail health.
Step 4: Lightly Buff the Nail Surface
Buffing helps smooth minor ridges and creates a more even surface for polish application.
Use a gentle buffer and make only a few light passes across each nail.
Avoid excessive buffing.
Over-buffing can thin the nail plate and make nails more vulnerable to damage.
The goal is smoothing, not removing layers of nail.
Step 5: Clean the Nail Surface
After filing and buffing, remove any dust or oils from the nail surface.
Wipe each nail with nail polish remover or rubbing alcohol.
This step helps improve polish adhesion and can significantly increase the lifespan of your manicure.
Many people skip this step and wonder why their polish chips quickly.
Clean nails help polish stay in place longer.
Step 6: Apply a Base Coat
Base coat is one of the most important parts of a long-lasting manicure.
It helps:
Protect the natural nail
Prevent staining
Improve polish adhesion
Create a smoother surface
Apply a thin, even layer to each nail.
Allow it to dry before moving on to color.
This extra minute of preparation often makes a noticeable difference in durability.
Step 7: Apply Nail Polish Correctly
When applying color, thin layers are your best friend.
Start by placing a small amount of polish near the cuticle and gently pushing it toward the base before pulling it down the nail.
Most nail technicians use a simple three-stroke method:
One stroke down the center
One on each side
Apply the first coat and allow it to dry briefly.
Then apply a second coat for fuller coverage.
Two thin coats almost always look better than one thick coat.
Step 8: Seal Everything With Top Coat
Top coat helps lock in color and adds shine.
It also provides an extra layer of protection against chips and scratches.
Apply a thin, even layer across each nail.
For extra durability, lightly brush the top coat across the free edge of the nail.
This technique, often called capping the tip, helps reduce premature chipping.
Many salon-quality manicures rely heavily on this simple step.
Step 9: Let Your Nails Dry Properly
Patience is critical.
Many otherwise perfect manicures are ruined because the polish is disturbed before it fully dries.
Try to avoid:
Typing
Cleaning
Showering
Handling objects
for at least a short period after application.
Even if the surface feels dry, deeper layers may still be setting.
Giving your manicure adequate drying time helps preserve the final result.
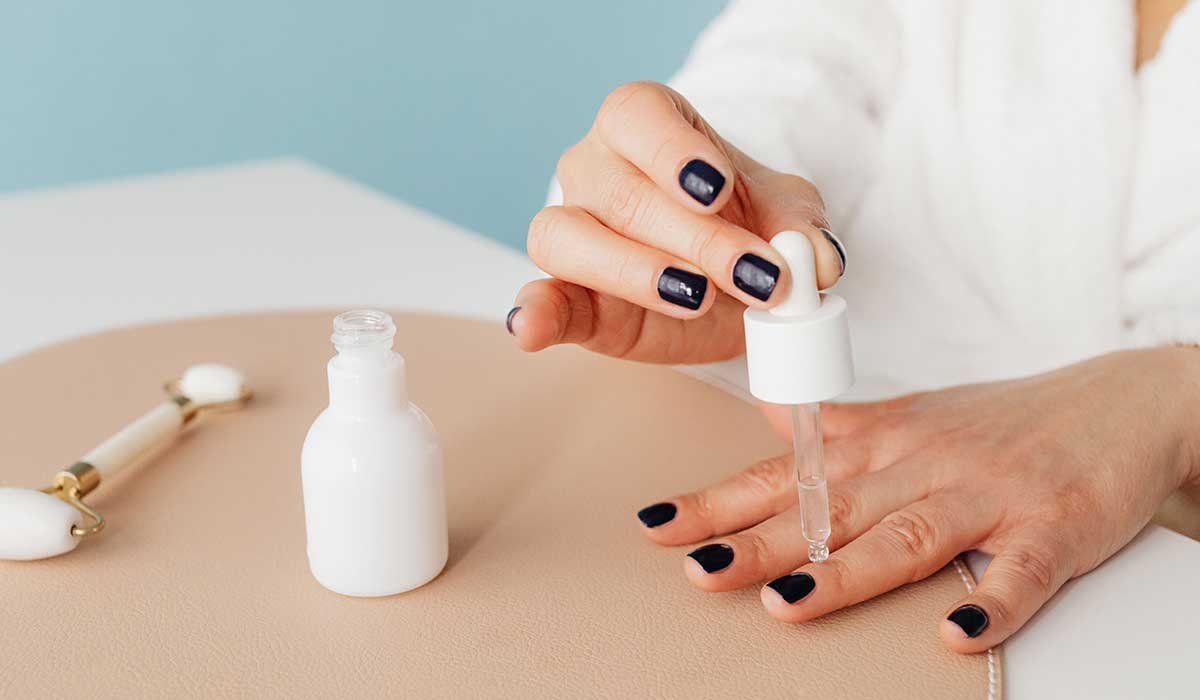
Step 10: Finish With Cuticle Oil
Once the polish is fully dry, apply cuticle oil around each nail.
This step restores moisture and gives the manicure a professional finish.
Cuticle oil helps:
Improve nail flexibility
Prevent dryness
Reduce hangnails
Support healthy growth
Many people skip this final step, but it often makes the biggest visual difference.
Healthy cuticles make any manicure look more expensive.
Common Beginner Manicure Mistakes
Most manicure problems can be traced back to a few simple mistakes.
Common issues include:
Applying thick polish layers
Skipping base coat
Skipping top coat
Over-buffing the nails
Flooding the cuticle area
Rushing drying time
Fortunately, these mistakes are easy to correct once you're aware of them.
Small improvements in technique can dramatically improve your results.
How to Make Your Manicure Last Longer
A beautiful manicure deserves to last.
To extend wear time:
Wear gloves while cleaning
Apply cuticle oil daily
Reapply top coat every few days
Avoid using nails as tools
Moisturize regularly
These habits help protect both the polish and the natural nails underneath.
Many people are surprised by how much longer their manicures last when they focus on maintenance.
Choosing the Best Nail Colors for Beginners
If you're just starting out, certain colors are more forgiving than others.
Neutral shades, soft pinks, nudes, and sheer colors tend to hide minor imperfections better than dark or highly pigmented shades.
As your application skills improve, you can experiment with bolder colors and more detailed nail art.
The most important thing is choosing shades you genuinely enjoy wearing.
Confidence always looks good.
Why Nail Care Matters More Than Nail Polish
One of the biggest secrets behind salon-quality nails is that the manicure begins long before the polish.
Healthy nails create a smoother surface, support longer wear, and improve the overall appearance of your hands.
Daily habits such as moisturizing, using cuticle oil, and protecting your nails from unnecessary damage often matter more than the brand of polish you choose.
Beautiful nails are built through consistent care.
Summary
Learning how to do a perfect manicure at home is one of the most useful beauty skills you can develop. It saves money, gives you complete control over your style, and allows you to maintain beautiful nails whenever you want.
The key is focusing on the fundamentals: proper preparation, gentle nail care, thin polish layers, and consistent maintenance.
You don't need professional training to achieve salon-quality results. With a little practice and patience, your at-home manicures can look just as polished and beautiful as those done in a salon.
The best part is that every manicure helps you improve. The more you practice, the easier and more enjoyable the process becomes.
Comments (0)
No comments yet. Be the first to share your thoughts!
Leave a Comment
You must be logged in to post a comment.