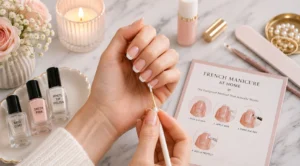
How to Do a Salon-Quality Manicure at Home in Under 30 Minutes
Let’s be honest – a trip to the nail salon feels amazing, but it’s not always budget-friendly or time-friendly. Between the appointment scheduling, travel time, waiting, and the cost, it can easily eat up half your day. The good news? You can absolutely get gorgeous, long-lasting nails right at your own vanity table – and in less than 30 minutes. No professional training needed.
This step-by-step guide will walk you through exactly how to do a salon-quality manicure at home, using tools you probably already own (or can grab for under $20). Whether you’re a total beginner or just looking to level up your at-home nail game, this is your go-to routine.
Why Your At-Home Manicure Isn’t Lasting (And How to Fix It)
Before we get into the steps, let’s talk about the most common reason DIY manicures chip within a day or two: skipping prep work. Most people jump straight to applying polish, and that’s where everything goes wrong.
A professional manicurist spends at least half their time preparing the nail — cleaning, shaping, pushing back cuticles, and dehydrating the nail plate. Once you start doing the same, you’ll be shocked at how much longer your polish lasts. We’re talking 5–7 days of chip-free wear, easily.
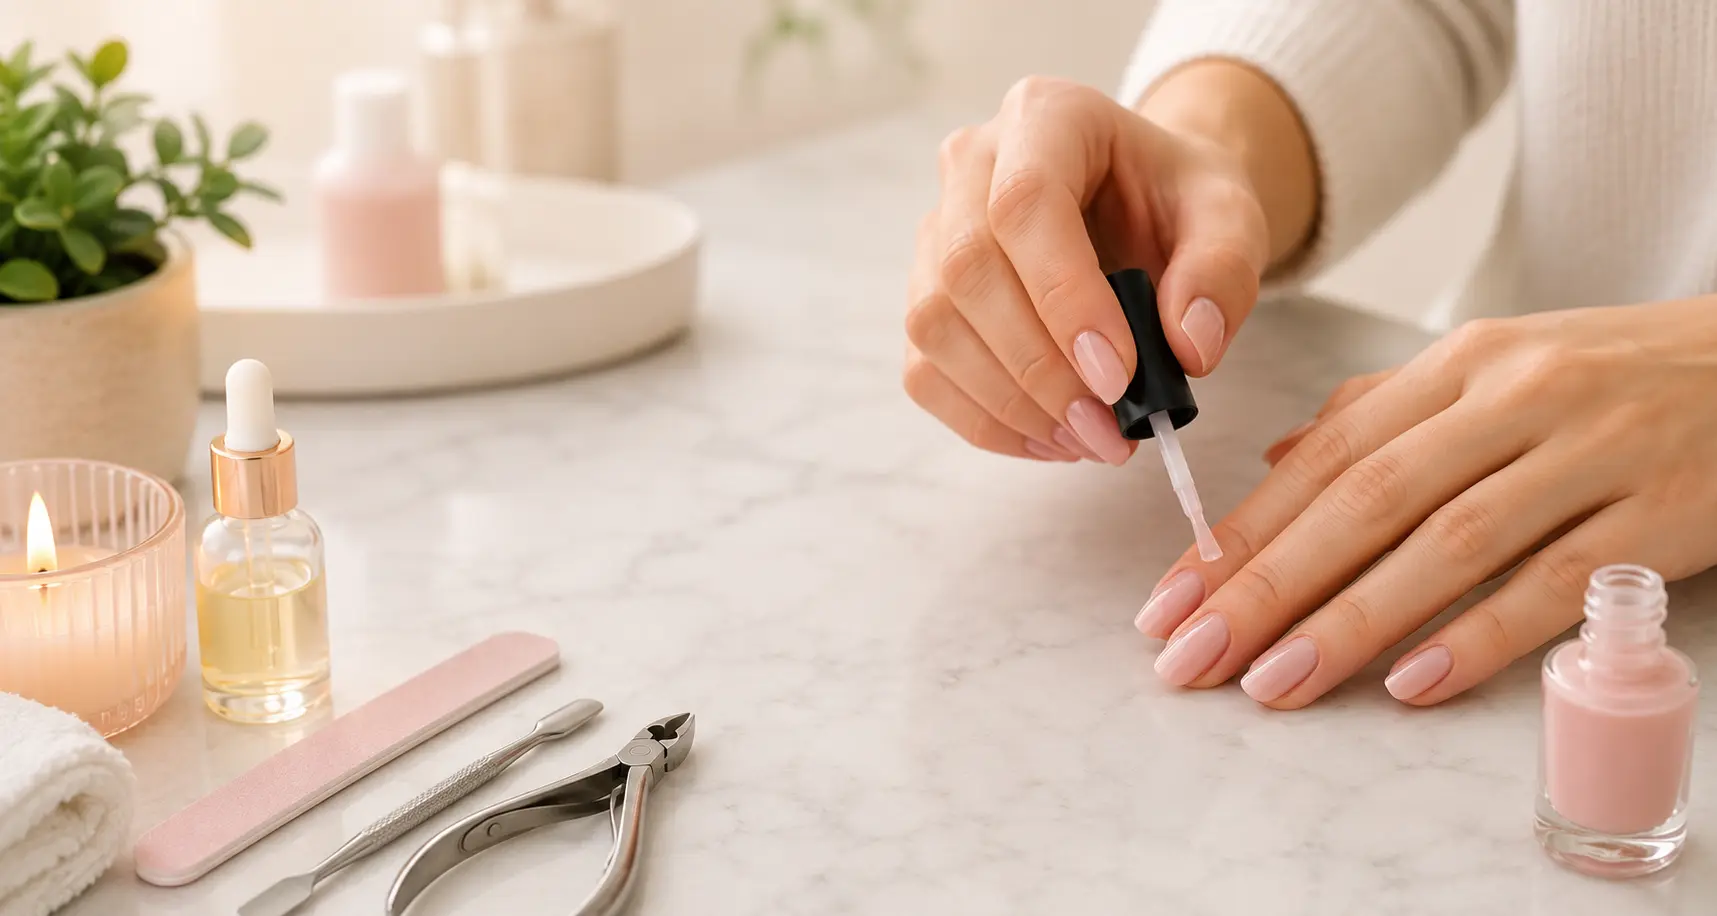
What You’ll Need
You don’t need a full salon kit. Here’s your essential toolkit:
- Nail polish remover (acetone-based works best for a clean slate)
- Cotton pads or rounds
- Nail file and buffer block
- Cuticle pusher (a rubber-tipped one is gentler for beginners)
- Cuticle oil or nourishing cream
- Base coat
- Your chosen nail polish color
- Fast-dry top coat
- A small cleanup brush (or a thin eyeliner brush dipped in remover)
That’s it. Simple, affordable, and effective.
Step-by-Step: Salon Manicure at Home in Under 30 Minutes
Step 1: Remove Old Polish Completely (2 Minutes)
Start with a completely clean nail. Soak a cotton pad with nail polish remover and press it onto each nail for a few seconds before wiping — this breaks down the polish faster and prevents smearing. Make sure no color or residue is left behind. Even clear old base coat should come off.
Pro tip: After removing polish, wash your hands with soap and water. Oils from your skin can interfere with how well the new polish adheres.
Step 2: Shape Your Nails (3 Minutes)
Pick a shape that suits your nail length and personal style — square, oval, round, or squoval (a crowd favorite). File in one direction only, not back and forth. Sawing motions cause micro-tears in the nail and lead to peeling and breakage over time.
Once you’ve got the shape you want, lightly buff the surface of each nail with the smoother side of your buffer block. This removes ridges and gives the polish a smooth canvas to stick to. Don’t over-buff though — once or twice across each nail is enough.
Step 3: Soften and Push Back Cuticles (5 Minutes)
This is the step that makes the biggest difference in how professional your nails look.
Apply a drop of cuticle oil or a tiny bit of hand cream to each nail bed and let it sit for about 60 seconds. Then, using your cuticle pusher, gently push the cuticle back toward the base of the nail. Work in small, circular motions — never force it.
You don’t need to cut your cuticles. In fact, cutting them is better left to professionals since cutting incorrectly can lead to infection. Pushing them back is all you need for a clean, polished look.
Step 4: Clean and Dehydrate the Nail (1 Minute)
Wipe each nail with a fresh cotton pad lightly dampened with acetone or nail polish remover. This removes any leftover oil, cream, or moisture from the nail plate. A dry, clean nail surface = polish that actually sticks.
This one tiny step is what separates a 2-day manicure from a 7-day manicure.
Step 5: Apply Base Coat (3 Minutes)
Never skip base coat. It does three important things: protects your nails from staining (especially with dark or red shades), helps the polish grip better, and extends wear time significantly.
Apply one thin, even layer and let it dry for about 60–90 seconds before moving on. You don’t need it to be completely dry — just tacky is fine.
Step 6: Apply Your Color — Two Thin Coats (8 Minutes)
Here’s where most beginners go wrong: thick coats. One thick coat takes forever to dry, bubbles easily, and peels faster. Two thin coats give you better color payoff and last much longer.
For each coat:
- Wipe off excess polish from one side of the brush before applying
- Start in the center of the nail near the base, then sweep to the left, then the right
- Cap the free edge (the tip of the nail) with a tiny swipe of polish — this seals the color and reduces chipping
Wait 2 minutes between coats. Set a timer if you need to — don’t rush this part.
Step 7: Top Coat is Non-Negotiable (2 Minutes)
A fast-dry top coat is your best friend. It adds shine, locks in the color, and dramatically reduces drying time. Apply one generous layer over your fully painted nails, again capping the edges.
Reapply top coat every 2–3 days to refresh the shine and add another layer of protection. This alone can extend your manicure’s life by several extra days.
Step 8: Clean Up the Edges (3 Minutes)
Even the steadiest hands leave a little bit of polish on the skin around the nail. That’s completely normal. Take your cleanup brush dipped in nail polish remover and carefully trace along the edges of each nail to remove any stray polish. This finishing step is what gives your nails that sharp, professional look.
Step 9: Moisturize and Let Dry (3 Minutes)
Once you’re done cleaning up, apply cuticle oil to each nail bed and gently massage in a good hand cream. Moisturized cuticles and skin make your manicure look more polished (pun intended) and keep your hands healthy.
Try not to do dishes, wash your hair, or submerge your hands in water for at least an hour after your manicure. Even with fast-dry top coat, nails need time to fully harden underneath.
Quick Tips to Make Your Manicure Last Even Longer
- Apply thin layers — always, every time
- Store polish upright in a cool, dark place (not the bathroom — humidity ruins it)
- Use gloves when doing dishes or cleaning with chemicals
- Reapply top coat every few days
- Avoid peeling chips — touch up instead
Final Thoughts
A salon-quality manicure at home is 100% achievable, and once you get the hang of this routine, you’ll be done in well under 30 minutes. The biggest takeaway? Prep is everything. Clean, shape, push back, dehydrate — do all of that before you even open your polish, and your results will completely transform.
Save yourself the salon trip (and the salon bill) and give this routine a try this weekend. Your nails will thank you.
Found this guide helpful? Explore more nail care tips and DIY tutorials right here on NailsWire. Don’t forget to share your manicure results in the comments below!