How to Do a Professional Pedicure at Home in Under 45 Minutes
A salon pedicure can feel like a luxury, but regular appointments are not always practical. Between busy schedules, rising salon costs, and the convenience of doing beauty treatments at home, more people are choosing DIY pedicures than ever before.
The good news is that you do not need professional training or expensive equipment to achieve soft feet, neat nails, and a polished finish. With the right routine, you can create a salon-quality pedicure at home in less than 45 minutes.
Whether you’re preparing for sandal season, a vacation, a special event, or simply want healthier-looking feet, this step-by-step guide will help you achieve professional results without leaving your house.
Why Regular Pedicures Matter
Many people think pedicures are purely cosmetic, but they actually play an important role in foot health.
Your feet endure constant pressure from walking, standing, exercise, and footwear. Over time, this can lead to dry skin, rough heels, calluses, and neglected toenails.
Regular pedicures help:
- Remove dead skin
- Improve nail appearance
- Prevent rough heels
- Support healthy nail growth
- Improve overall foot comfort
Consistent foot care can also help you spot potential problems early, such as ingrown toenails, fungal infections, or unusual skin changes.
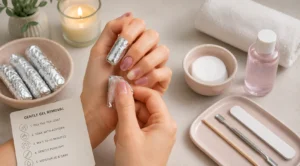
What You’ll Need
Before starting, gather all your supplies.
You’ll need:
- Nail polish remover
- Nail clippers
- Nail file
- Foot soak basin or large bowl
- Warm water
- Gentle soap
- Foot scrub or exfoliator
- Pumice stone or foot file
- Cuticle pusher
- Foot cream
- Cuticle oil
- Base coat
- Nail polish
- Top coat
- Towel
Having everything prepared beforehand makes the process quicker and more enjoyable.
Minute 1-5: Remove Old Nail Polish
Begin by removing any existing nail polish.
Use a gentle nail polish remover and thoroughly clean each toenail. This gives you a clear view of your nails and ensures better polish adhesion later.
Even if you’re not planning to repaint your nails, removing old polish helps reveal the true condition of your toenails.
Take a quick moment to inspect your nails for discoloration, thickening, or other unusual changes.
Minute 5-15: Soak Your Feet
Fill a basin with warm water and add a small amount of gentle soap.
Soak your feet for about 10 minutes.
This step softens rough skin, loosens dirt, and makes calluses easier to remove. It also helps soften the cuticles and prepares the feet for exfoliation.
For an extra spa-like experience, some people add Epsom salt or a few drops of essential oil to the water.
However, plain warm water works perfectly well for most home pedicures.
Minute 15-20: Exfoliate Rough Skin
After soaking, gently exfoliate your feet.
Use a foot scrub to remove dead skin from the soles, heels, and sides of the feet. Focus on areas that tend to become rough or dry.
Next, use a pumice stone or foot file on callused areas.
Be gentle.
One of the biggest mistakes people make is aggressively filing the feet. Removing too much skin can actually cause irritation and encourage calluses to return more quickly.
The goal is smoother skin, not perfectly flawless feet.
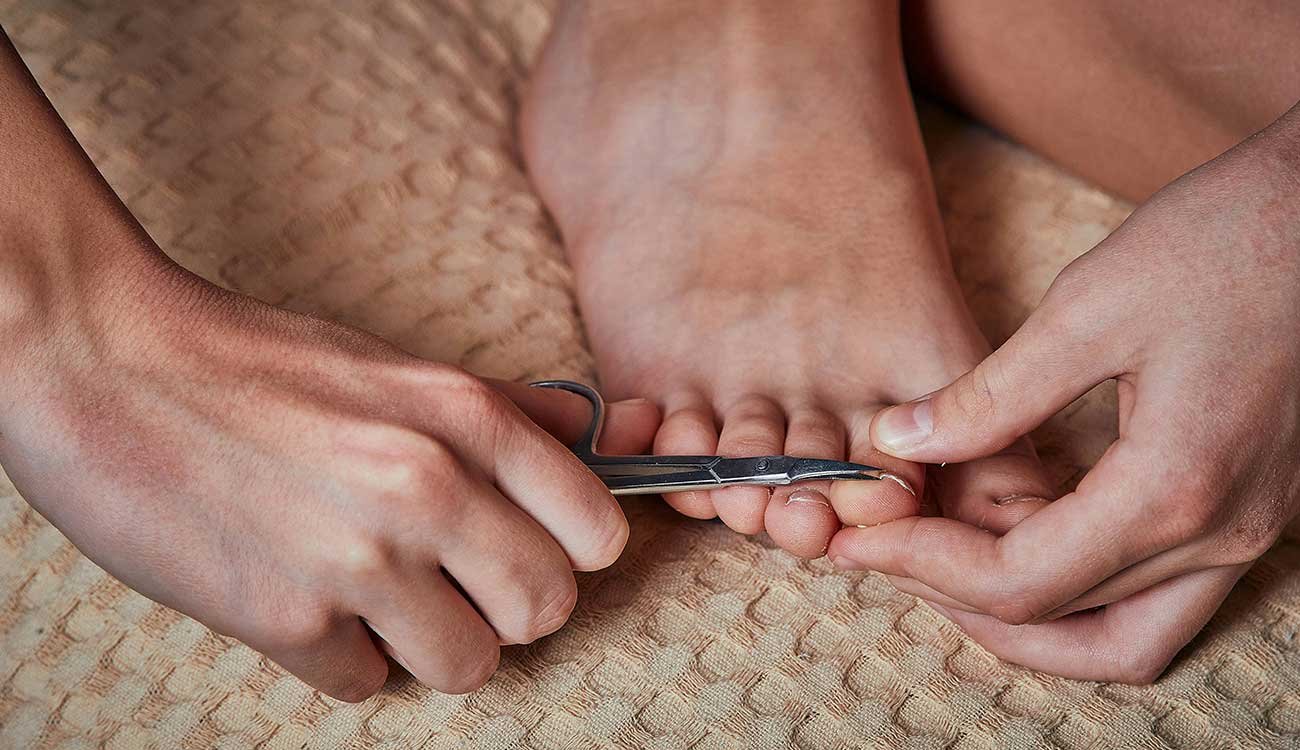
Minute 20-25: Trim and Shape Toenails
Dry your feet thoroughly before moving on to nail care.
Trim your toenails straight across using nail clippers. This helps reduce the risk of ingrown toenails.
Avoid cutting the corners too deeply.
Once trimmed, use a nail file to smooth the edges and refine the shape.
Unlike fingernails, toenails generally look best with a straight or slightly rounded shape.
Neat, even nails instantly make your pedicure look more professional.
Minute 25-30: Care for Your Cuticles
Healthy cuticles play an important role in protecting the nail area.
Apply a small amount of cuticle oil or lotion around each toenail.
Using a cuticle pusher, gently push the cuticles back.
Avoid cutting cuticles whenever possible. Cutting them can increase the risk of irritation and infection.
Simply pushing them back creates a cleaner appearance while maintaining their protective function.
This small step makes a surprisingly big difference in the final look of your pedicure.
Minute 30-35: Moisturize Your Feet
Now it’s time to restore hydration.
Apply a generous amount of foot cream and massage it into your feet, heels, toes, and ankles.
Foot massage not only feels relaxing but also helps improve circulation and allows moisturizers to penetrate more effectively.
Pay extra attention to areas prone to dryness, such as the heels and balls of the feet.
If your feet are extremely dry, consider applying a thicker cream before bed regularly, not just during pedicures.
Healthy skin is the foundation of beautiful feet.
Minute 35-40: Apply Base Coat and Nail Polish
Before applying polish, wipe the nail surface lightly if any lotion remains on the nails.
This helps the polish adhere properly.
Apply a thin base coat to protect the nails and create a smooth surface.
Once dry, apply your chosen nail polish in thin, even layers.
Most colors look best with two coats.
Allow a brief drying period between layers to reduce streaks and smudging.
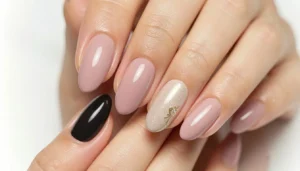
Popular pedicure shades include:
- Classic red
- Soft pink
- White
- Coral
- Nude
- Burgundy
- Navy blue
Choose whatever color makes you feel confident and comfortable.
Minute 40-45: Finish With a Top Coat
Seal your pedicure with a quality top coat.
Top coat adds shine, protects against chips, and helps extend the life of your polish.
Many people rush through this final step, but it is one of the most important parts of achieving a professional-looking result.
The top coat creates a smooth, polished appearance that ties everything together.
Allow your nails adequate drying time before putting on shoes or socks.
Common Pedicure Mistakes to Avoid
Even simple pedicures can go wrong if certain habits are ignored.
Some common mistakes include:
- Cutting toenails too short
- Over-filing calluses
- Skipping moisturizer
- Applying thick polish layers
- Cutting cuticles
- Rushing drying time
Avoiding these mistakes can dramatically improve both the appearance and longevity of your pedicure.
How to Make Your Pedicure Last Longer
A professional-looking pedicure can often last several weeks with proper care.
To keep your feet looking their best:
- Moisturize daily
- Reapply top coat every few days
- Wear properly fitting shoes
- Avoid picking at polish
- Keep nails clean and trimmed
Regular maintenance helps preserve your results and keeps your feet healthy between pedicures.
When to Skip DIY Pedicures
While home pedicures are safe for most people, certain situations may require professional care.
If you have diabetes, severe circulation issues, foot injuries, infections, fungal conditions, or persistent foot pain, consult a healthcare professional before performing extensive foot treatments at home.
Foot health should always come before cosmetic concerns.
Final Thoughts
A professional-looking pedicure does not require expensive salon visits or complicated techniques. With a few basic tools and less than 45 minutes, you can transform your feet and enjoy soft skin, healthy nails, and a polished appearance from the comfort of your home.
The secret is consistency rather than perfection. Regular foot care, proper hydration, and simple maintenance habits can keep your feet looking and feeling their best year-round.
Whether you’re getting ready for summer sandals, a beach vacation, or simply treating yourself to a little self-care, a well-executed home pedicure is one of the easiest ways to feel polished, refreshed, and confident.